 |
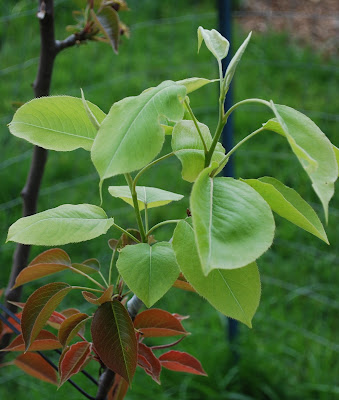
| Graft Progress. NOID Asian pear on Maxie. 4.14.16 |
These Asian and American pear whip-and-tongue grafts were done about mid Feb, so now at 2 months. I grafted early beacuse I thought Spring might arrive early. The Asian variety is growing the fastest, and the American variety is close behind. The vivid green color stands out against the reddish leaf color of the Maxie hybrid pear understock.
I give the early pear grafting experiment a success rating. I've read that pears are the easiest fruit to graft, with apples coming in second. Even so, it's a very rewarding project.
As pear pollenizers, these will likely need 2 to 3 years to bloom. I have not seen pear grafts bloom one their second leaf, and some not on their third leaf.
 |
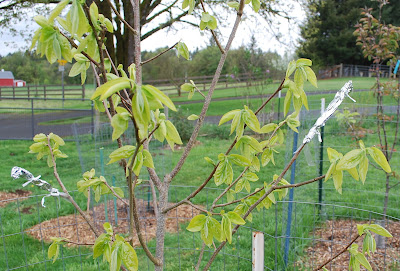
| Graft progress. "Rescue" pear graft at 2 months. 4.15.16 |
 |
| New whip/tongue grafts. "Chocolate" persimmon on Saijo stock. 4.15.16 |
I read that persimmons are more difficult to graft, and need some special considerations. It helps to have understock that is in active growth. I also read that they should have protection from sun, so that the scion does not dry out before it takes. We have temps in the 80s predicted within a few days. I obtained scion for the persimmon variety, "Chocolate", at the Home Orchard Society scion exchange, and kept wrapped in plastic, in refrigerator, until this week. I did 2 whip/tongue grafts onto Saijo, wrapped completely in parafilm tape, and further wrapped in aluminum foil to protect from sunshine. They will need checking in a week, but I doubt a take in less than a month if they take at all.
I chose "Chocolate" because (1) they had it, (2) I read that "Chocolate" has some male flowers so can pollenize other persimmons - not likely needed, but interesting to consider, (3) I bought some of this variety fruit at Albertson's last winter and they really were good. On the negative side, I also read this variety might not have time to ripen in Maritime Northwest cool summer/fall. This is where grafting is helpful - I don't waste the time, orchard space, tree care, and money, for a full one-variety tree that might not bear at all.
Most of last year's grafts have healed to the point where the graft unions are difficult to see. They are sturdy, stout branches now (plum) or are on their way to being so (apple).
 |
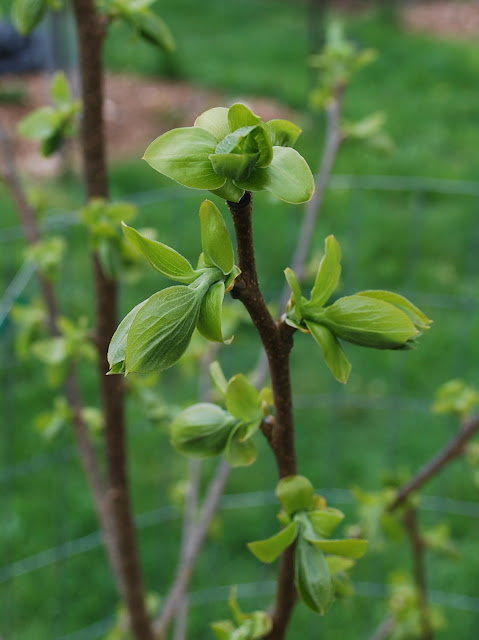
| Hanska plum whip/tongue graft at one year. 4.15.16 |
 |
| Hanska plum whip/tongue graft at one year. 4.15.16 |
Persommin update, grafting and observations of growth.
I read that persimmons can be more challenging to graft, compared to other fruit trees. It is reported that helpful measures include, grafting the dormant scion onto actively growing rootstock, and sheltering the graft from sun until it takes. I obtained scion of the persimmon variety "Chocolate" at the Home Orchard Society scion fair a few weeks ago, and stored wrapped in foil / plastic bag, in the refrigerator. Now the existing trees are growing actively, so I cut the scion in half and grafted to two sites on the variety "Saigo". I wrapped fully with Parafilm tape and covered with aluminum foil. I may change the foil wrap to something more loose in a couple of weeks, depending on how they look.
The persimmon variety "Chocolate" is reported as having occasional male flowers, which is not necessary for Saijo or Nikita's gift, but might be interesting in the future. According to Raintree, Maritime Pacific Northwest summers are too cool for ripening fruit of this variety, so I did not want to buy an entire tree. On the other hand I've tasted "Chocolate", grown in Willammete Valley, and liked them very much. They are reported to have occassional male flowers, which might be interesting. Saijo and Nikita's gift, my other two Asian or Hybrid varieties, are not considered to need pollination, however.
The American persimmon varieties are leafing out more slowly, compared to Saijo. Nikita's Gift is between the two. There is still potential for frost, but that seems like a minimal risk now. Saijo has the start of a few flower buds, which emerge on new growth, not directly from dormant stems.
 |
| "Yates" American persimmon at 2nd leaf. 4.14.16 |
 |
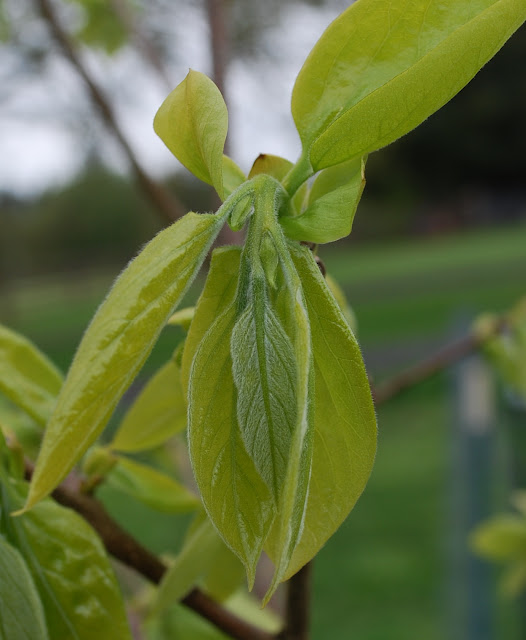
| Nikita's Gift hybrid persimmon early growth. 4.14.16 |
 |
| Saijo Asian persimmon with emerging flower buds. 4.14.16 |


