Thursday, October 15, 2015

Opuntia. Bumblebee. Peach Seed. 10.14.15

 This is a good start for my opuntia trial.   I have two "Texas Opuntia Cuttings" via Amazon.  I imagine these are just some cactus pads that someone in San Antonio went outside and cut off a larger cactus.    "The Mother plants are direct offspring from some of the San Antonio Missions including the Alamo! A large cactus with flattened, mostly spiny stems that produce deep red, juicy and sweet fruits.".  They are labeled as "Spineless Thornless Prickly Pear, Nopal Verde Opunti" which I can't find anywhere, but suspect they are Opuntia Engelmannii.   The others were posted last week.

If nothing else, they will be interesting in the sunroom for the winter, and require minimal or no watering.

Random pic of one of the largest bumblebees I have seen this year.  Haven't seen any in months.

Sprouting peach seed from last week or so.  Planted in seed starting medium.  This one is from "Oregon Curl Free".

Texas Opuntial Pad Cutting.  110.15.15

Bumblee on Dianthus.  10.15.15

Germinating Peach Seed.  "Oregon Curl Free" Seed Parent.  10.5.15

Saturday, October 10, 2015

Fishing. 1960.

B


Time flies.  I think these are all about 1960.  In each, I'm the smaller little boy.  My dad made that boat by hand.  Fishing was something we all did back then.  Mississippi river.

Tuesday, October 06, 2015

Apricots from seeds. 10.6.15

Apricot Seeds.   Stratigied 2 months, then warm 10 days.  10.6.15-
Apricot seed sprouting, before covering with seed starting medium.  10.6.15
Here are some apricots seeds that I stratified 2 months in the fridge.

The peacotum seeds rotted.

I have others, mainly peaches.

I took these apricot seeds out of the fridge, left them on moist paper towel to sprout.  Room temp.  At 10 days, most are splitting and several have a root.

I planted the 3 with the longest roots in dampened peat-moss-based seed starting medium, one inch deep.  They are back in the seed starting rack again.  I left the others to continue sprouting on moist paper towel, in the same zipper plastic bag.

These are a locally grown apricot.  I looks like there will be several trees to play with.  I can use one for scion, grow a couple in containers, and grow a couple in the ground.

Sunday, October 04, 2015

Squashes

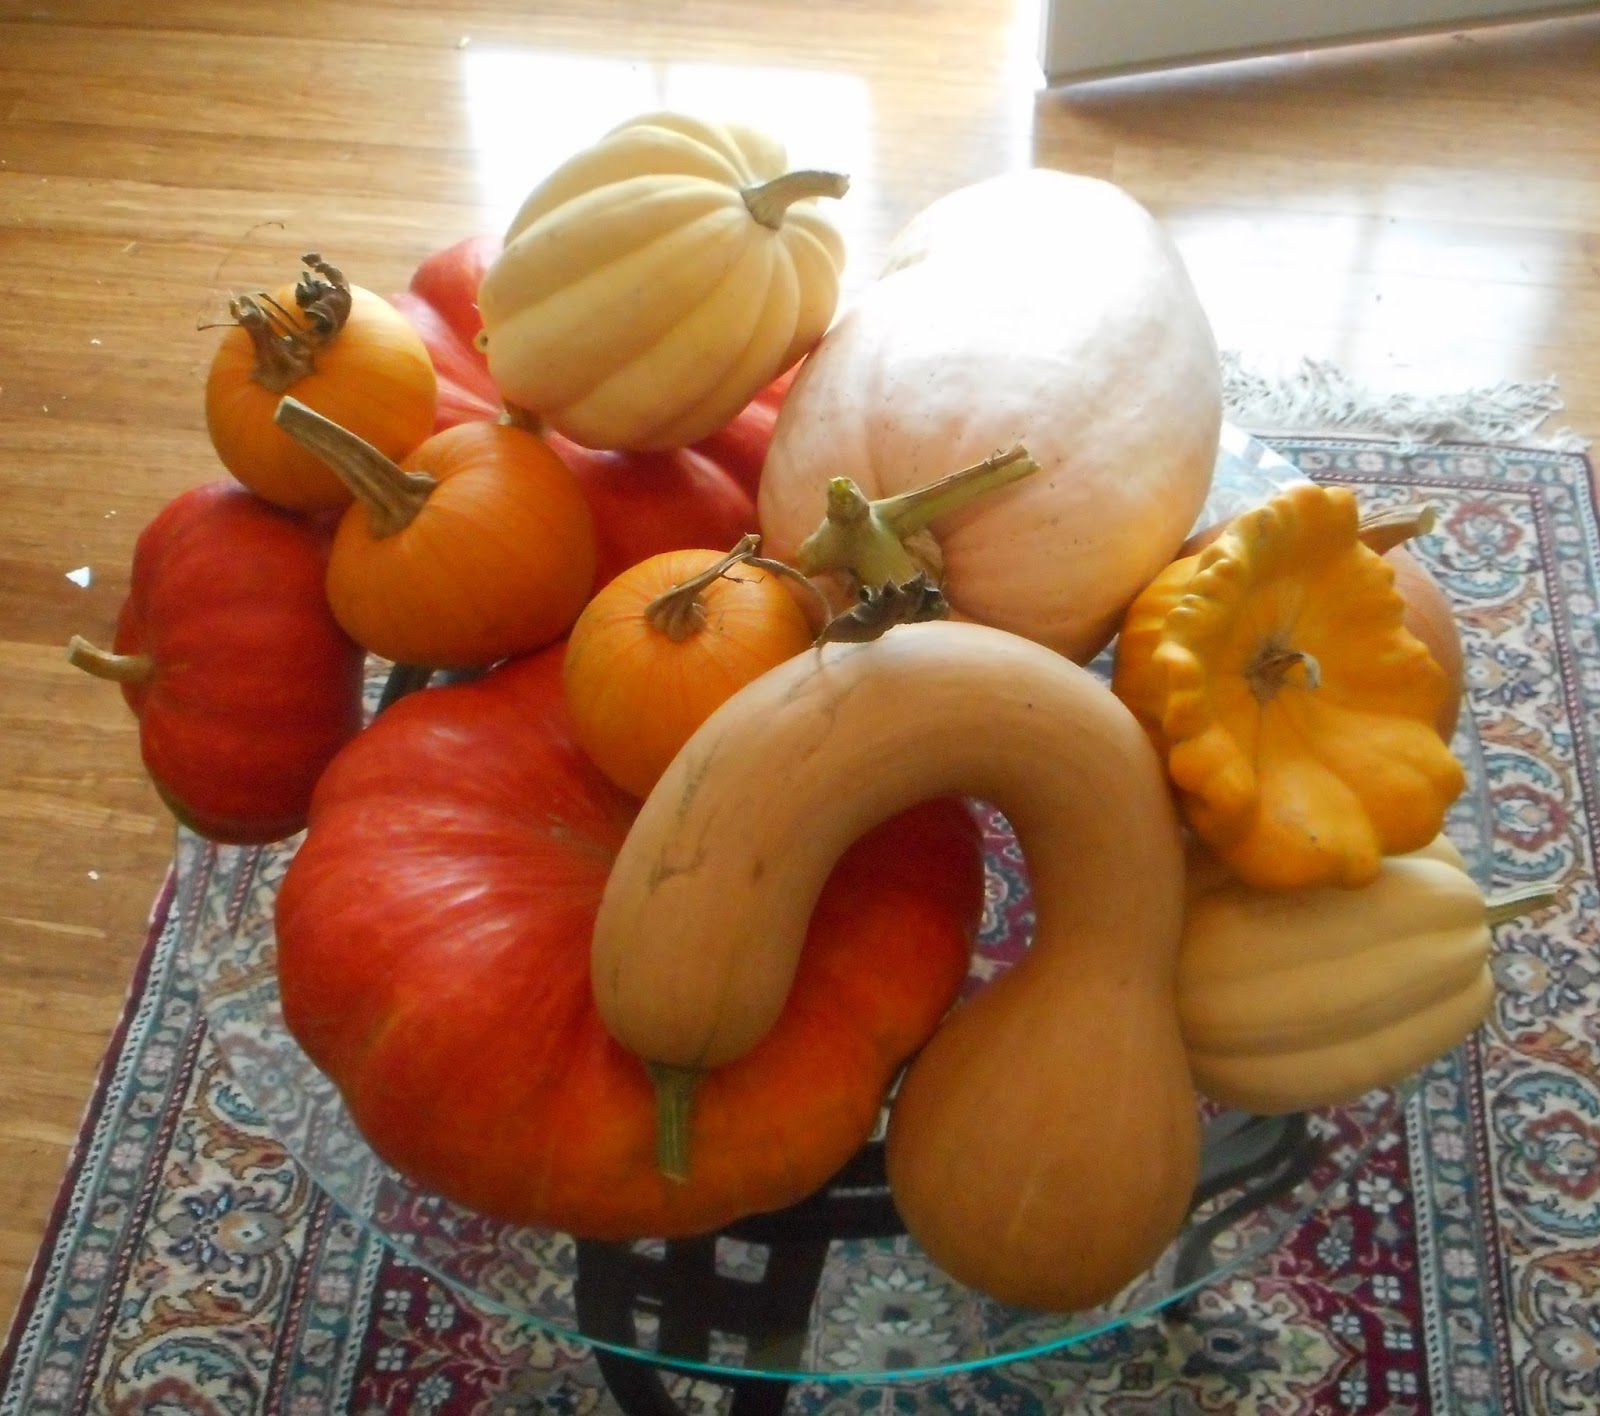
 Since I did not know which squashes would do well, I planted multiple varieties.  Pumpkins are just orange round squashes. 

No use growing all one type when it's so easy to sample all sorts.

I did not know the summer would be so hot.  Expecting cool climate, I started the squash plants indoors, and planted when the soil was warm.  In order to keep the soil warm, I did not mulch.   I did not get them all into the ground as quickly as i wanted, and some were delayed.  But most did very well.

All can be cooked in similar ways.  We usually roast them.  Some can be baked to soften, then puree for pies.  My favorite last year was Waltham butternut squash, made into pie.  I do have one of those that is not yet ripe.

I like just looking at them.

The largest was Pink Banana Squash.  18 pounds.

Ning is holding a Pink Banana Squash, and a Long Island Cheese Pumpkin.  Expect some taste testing this winter.

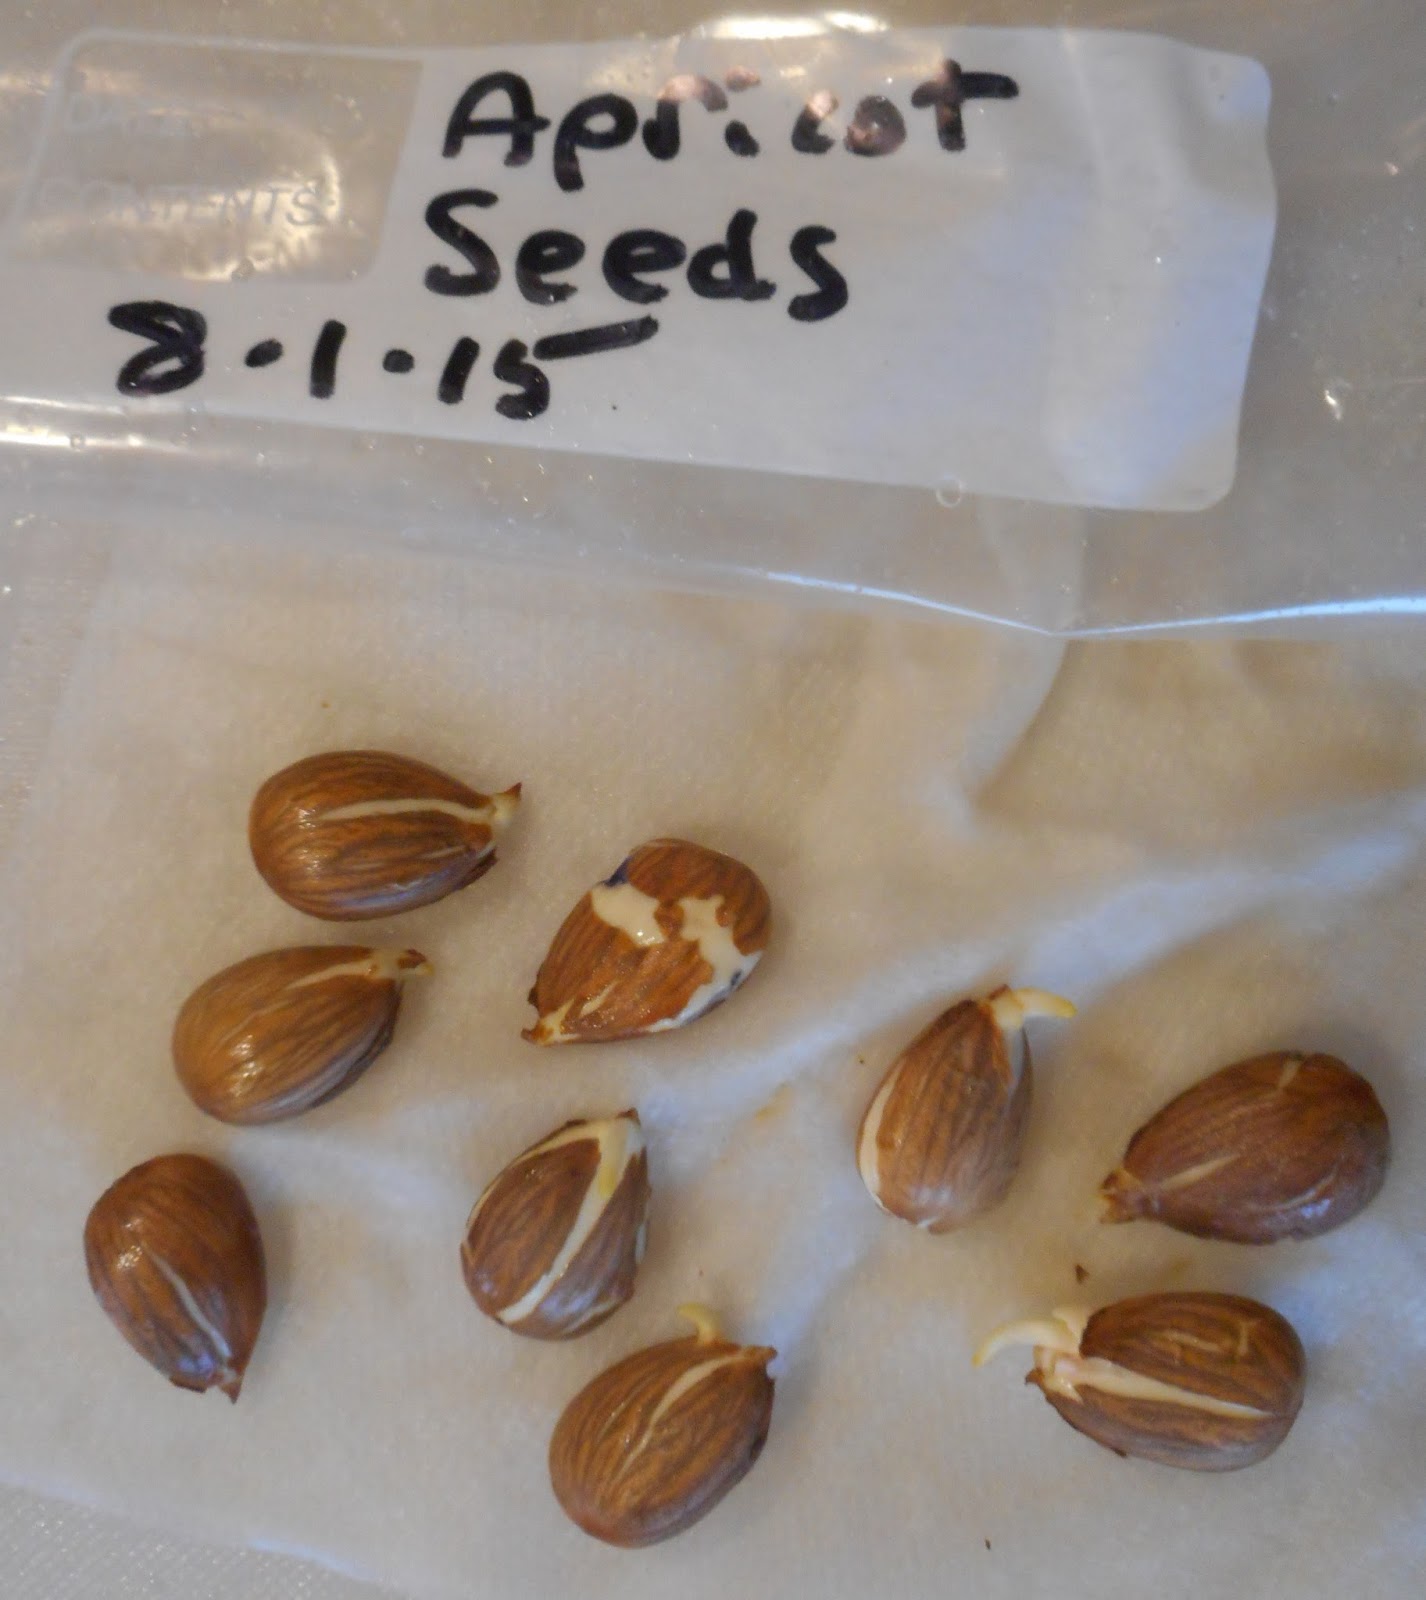
No use saving seeds from these.   Most are cross pollinated, most by Zucchinis which had the most male flowers.  I might grow one or two for novelty but with the cross pollination, none are expected to be true next year.

Still, a squash is a squash.  So I would expect any to be edible, even if they look strange.

Sedum propagation. 10.4.15

Sedum propagation.  10.4.15
I'll add more photos from my home computer.  This one is at Battleground.

All of the large-plant sedum stem cuttings that I took 8.18.15 have taken root and grown.  So it's roughly 6 weeks.  They also have flower buds and growth of new stems from the base.  This is true for the green-leaf and red-leaf types.

Very cool.   For almost no effort, and from 2 original stems cut into shorter pieces,  I now have a half dozen new sedum plants.

Two of the leaf cuttings have grown roots.  It will take longer to see if they will grow.  most of the leaf cuttings died.

UPDATE:  These are the other sedum cuttings.  Again, these are large - type sedums.  Some are the type sold as "Autumn Joy".    For the smaller sedums, all that is needed is cut off a bunch of pieces with a pair of scissors, insert the cut end into some soft soil, and treat them like seedlings with a little water and weeding.  I've never had a sedum not-grow from that type of cutting.

More sedum cuttings.  10.6.15
 It's interesting to see that some of the cuttings produced more terminal stems, then flowers.  That is even though these are pieces that I cut from the original, long stem, and potted up each one.  And they all have little plants growing around the base of the cuttings.

The plan is that, once winter sets in, keep these in a sheltered place during the coldest weather, and plant in the bee border late Winter / early Spring.