

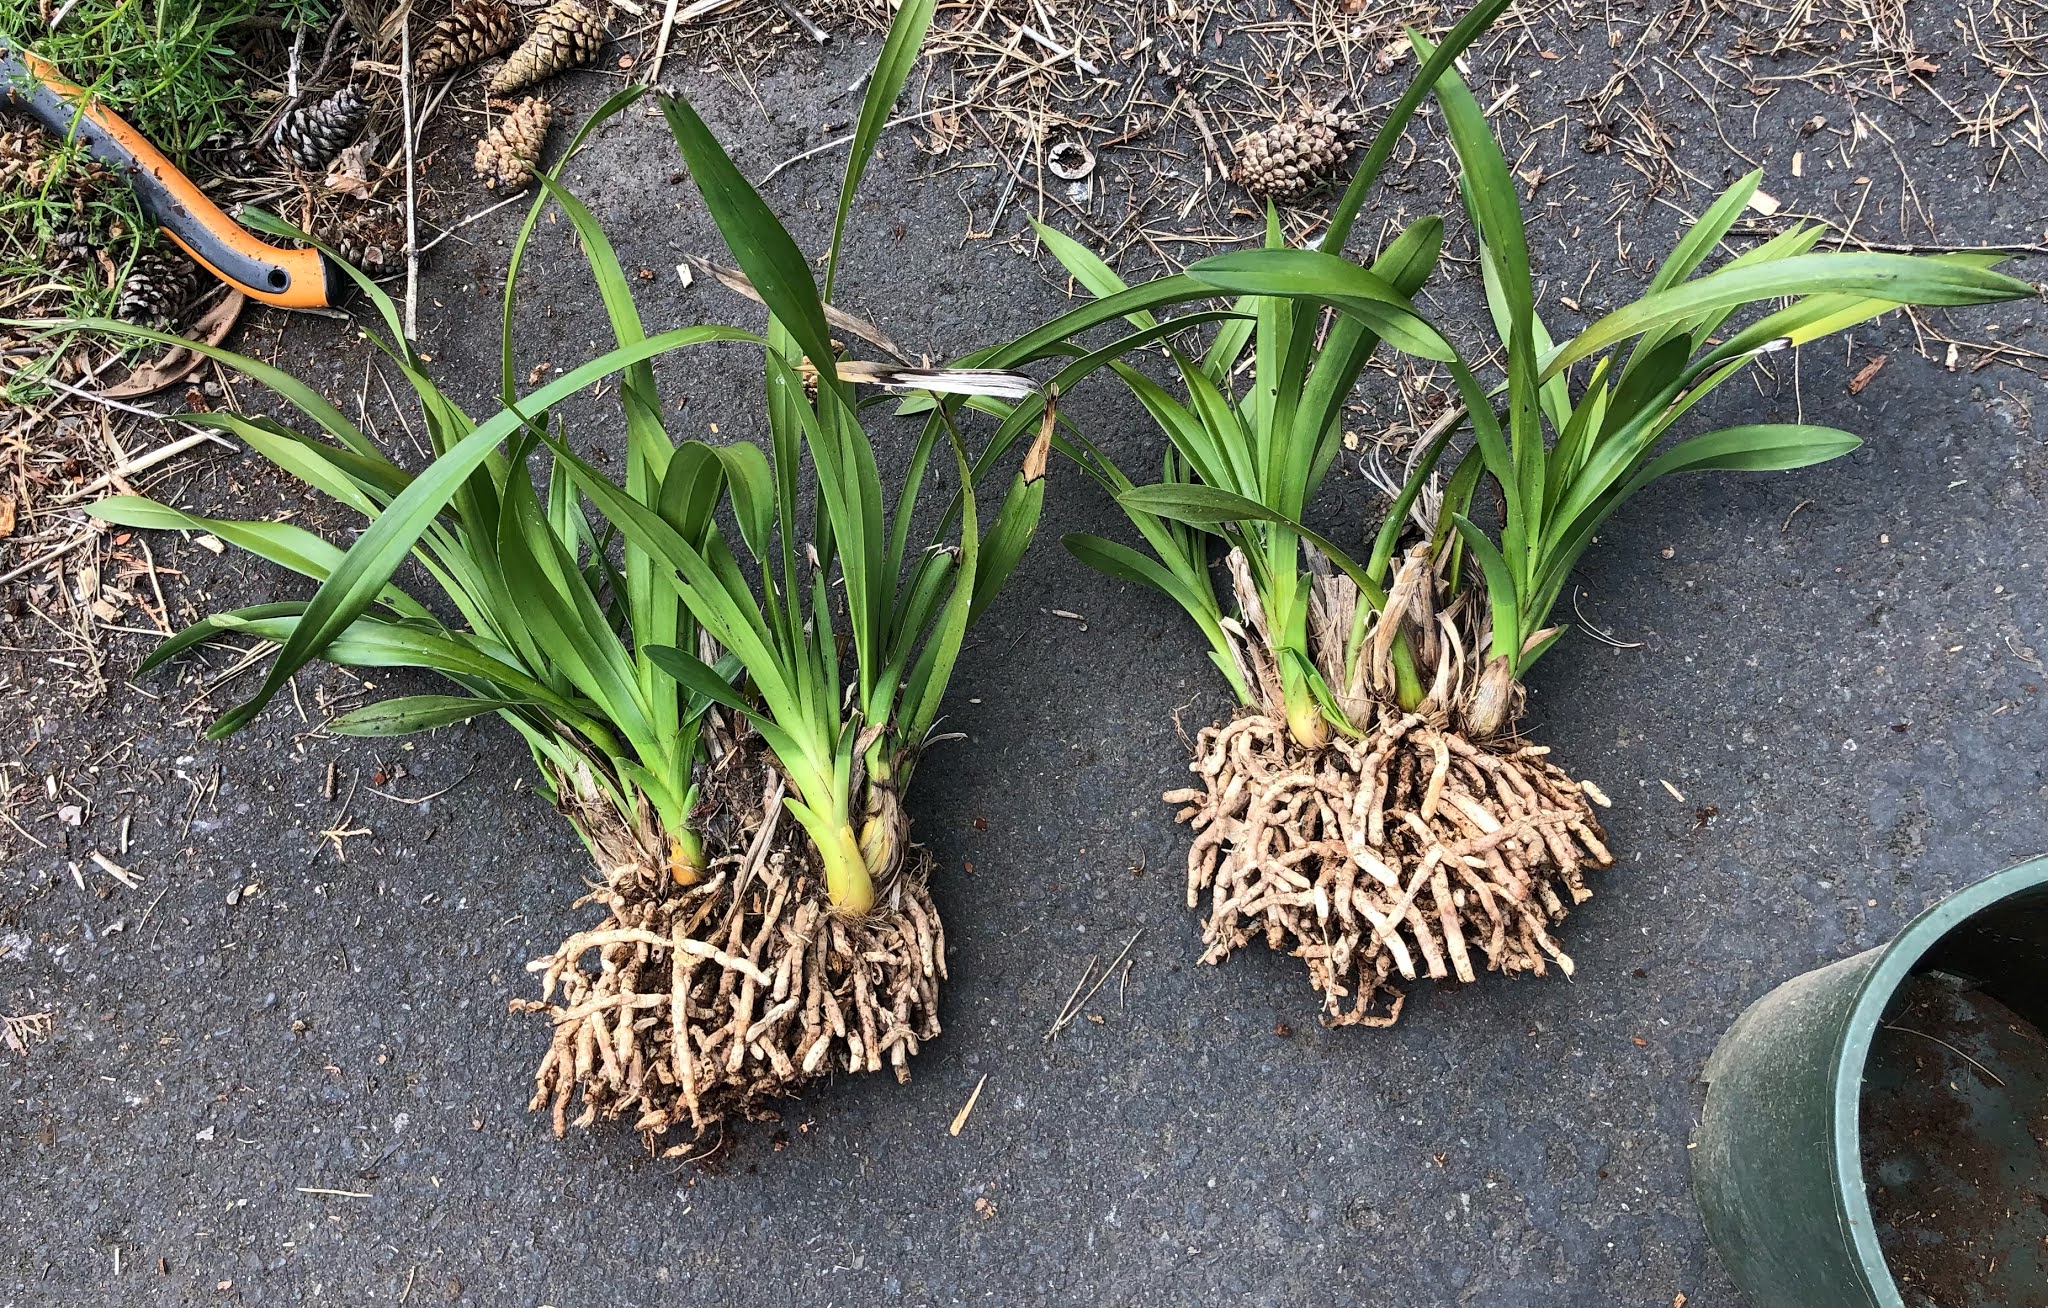
This is a beautiful yellow Cymbidium orchid, that has rebloomed for several winters. It did not during the most recent winter. I imagine that was due to overcrowding, but also maybe leaving it sit in the sun with no care during smoky season and other stuff. This is a very tough plant, can dry out like a cactus and it survives. I remembered watching a video a long time ago about dividing and repotting cymbidiums, and decided to divide it like the video I watched. I dont have a link to that.
Here is the plant. The center has died out with all of he growth on the fringes like a mediaeval monk's haircut.


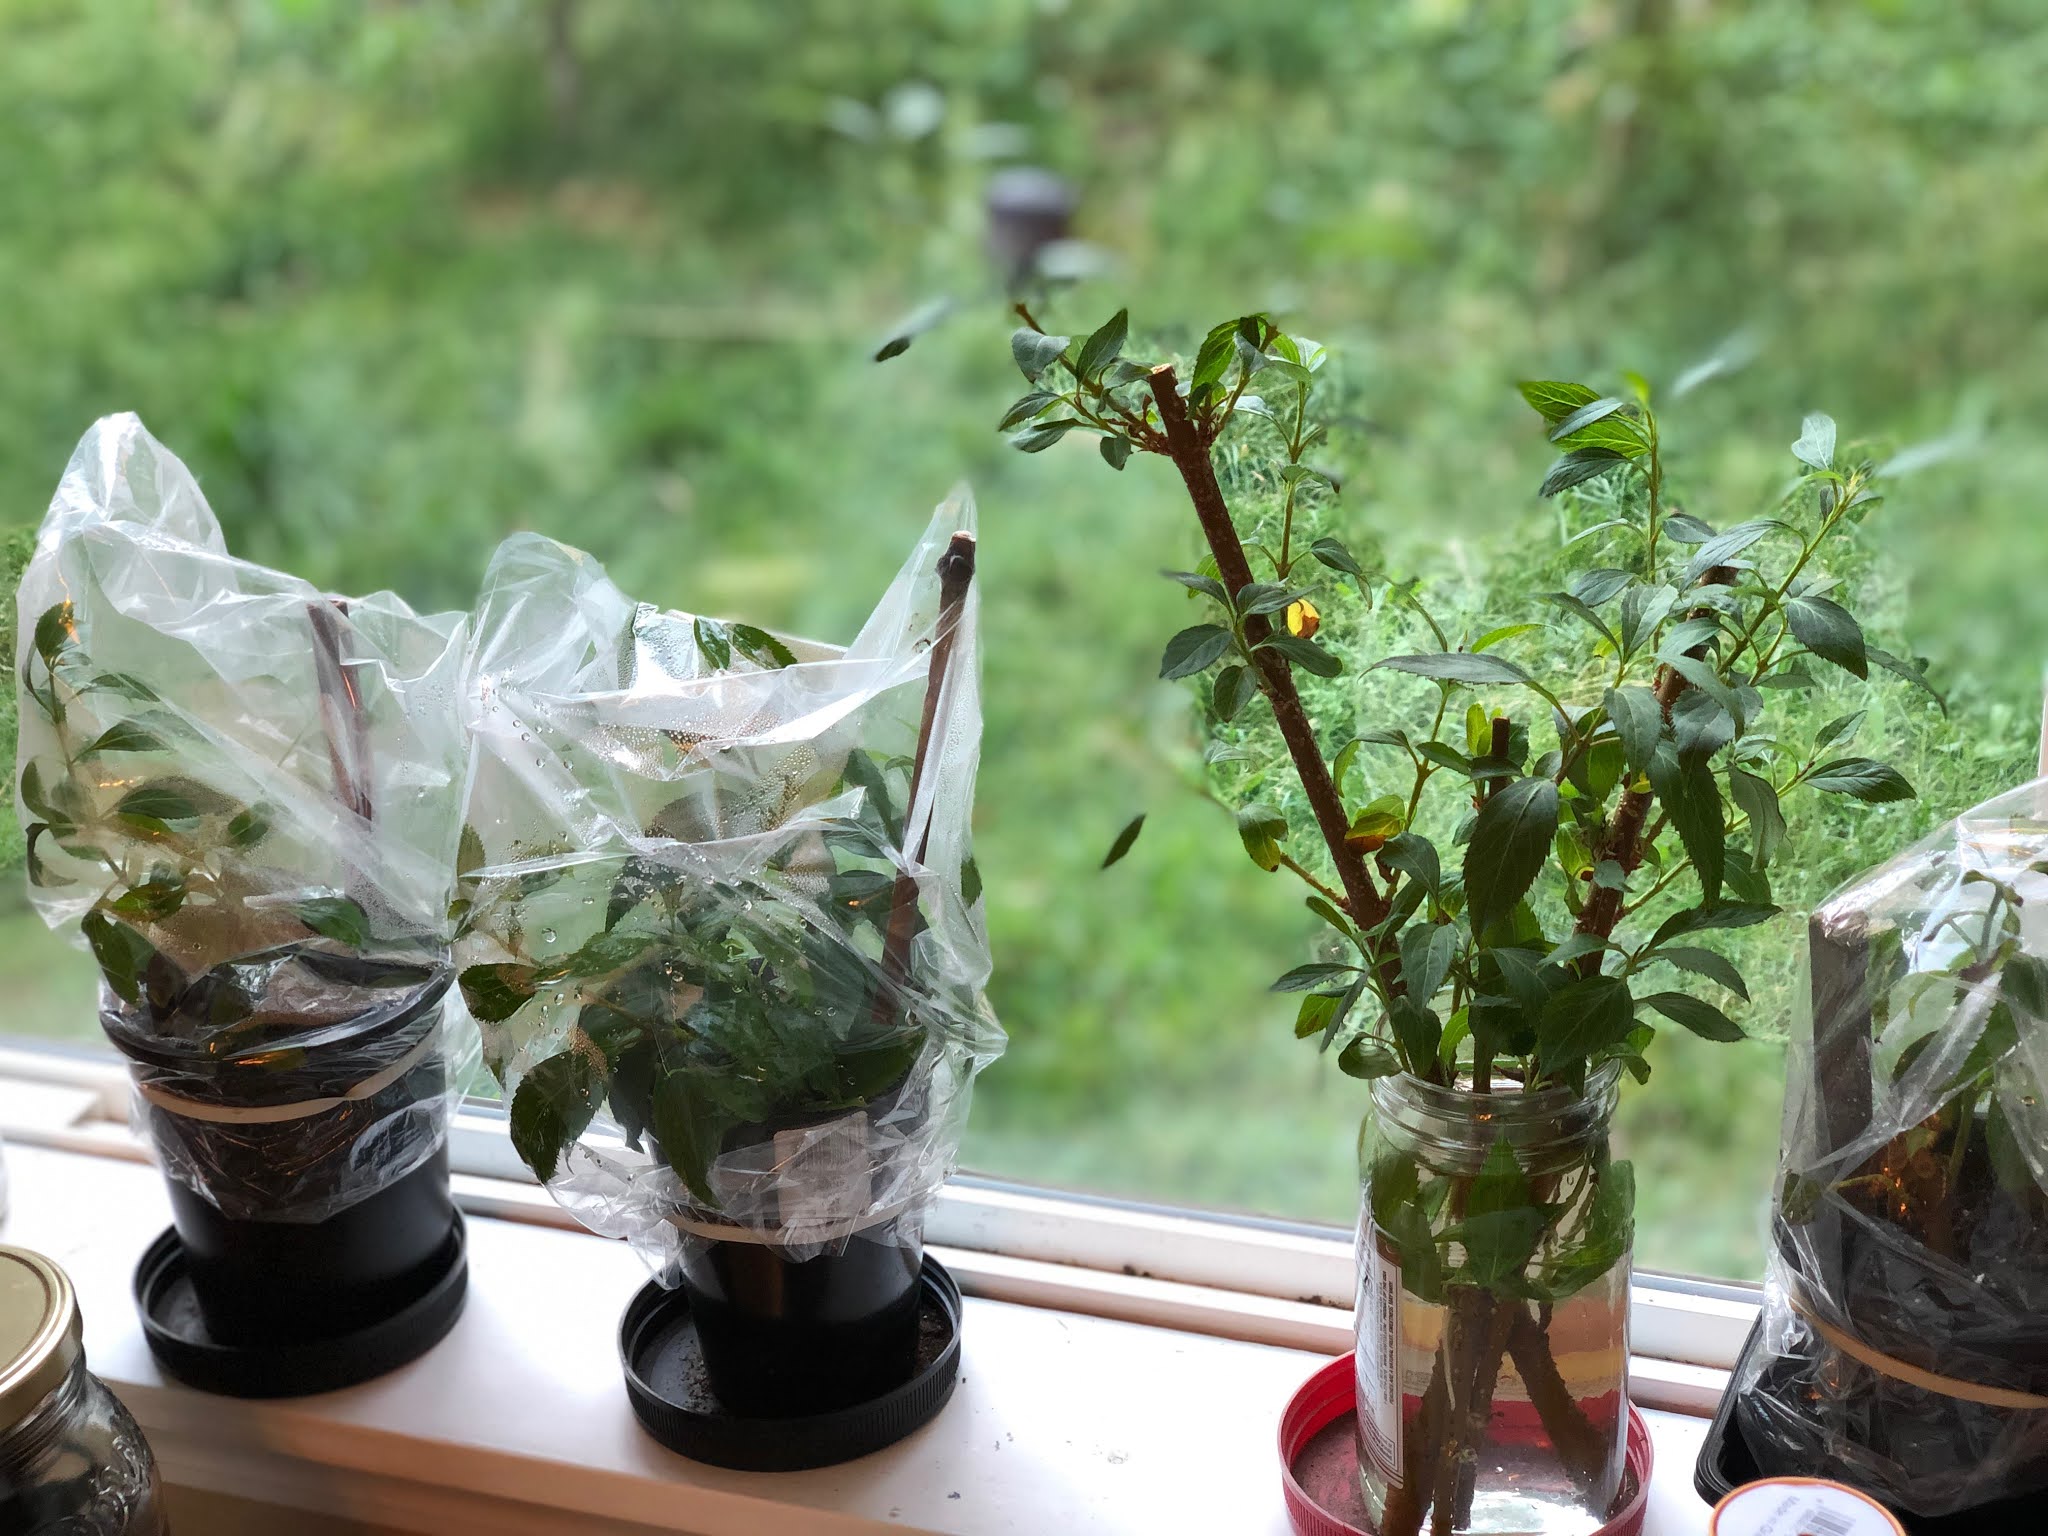
These are some of the forsythia cuttings I took April 25th, so about 6 weeks ago. The goal is 10 plants for a forsythia privacy hedge. I'm pretty sure the parent shrub is Lynwood Gold. I grew that shrub about 15 years ago from a found cutting, a discarded pruning found on the street.
There are lots of internet articles that state how easy it is to grow forsythia from cuttings. It's difficult to locate articles that show actual progress. Here are mine so far.
About 6 weeks ago, I took prunings of wood from the forsythia bush. This was just after blooming. The prunings were a bit thinner than a pencil. Pencils are the devices that people used to use to jot things down, before there were cellphones. Similar in size and shape to chopsticks.
I made an about 1 inch long, vertical incision in the lower couple of inches of the cuttings. I dipped the cuttings in Dip'n'Grow, 5 seconds. Six of these went into water. Nine of the smaller ones went into seed starting medium, which I made into tiny greenhouses using bread bag size plastic bags.


It's a minor thing, but a nice change. I replaced the old, incandescent light bulb on the Kenmore sewing machine, with new LED bulb. The LED bulb is an upgrade. I imagine no one even imagined them when this machine was new.

This is the sewing area, lit via the old incandescent bulb. Photo taken with I-phone, which is affected by light source. However, the comparison is about right.

Here is is, illuminated via the new LED bulb. Quite a difference.

This will be easier on my old eyes.
Here are most of the dwarf tomato plants about one month after planting outside. The plants in containers seem to he healthier and more vigorous than the ones in the ground. That may be variety more than location, since they are not the same ones.


Most of the others are 2 to three times taller now.

I curious about what this volunteer yellow cherry will be like. It grew next to a dahlia last year and really never got water. It was only about 4 feet tall but was in such adverse conditions. The seedling from that looks more vigorous this year. I imagine this is descended from Sungold. From what I read, descendants of Sungold are not as sweet. Even so, I liked last year's tomatoes, so maybe this year's will be OK.


The Purple Russian has upturned leaf margins, similar to those of Extreme Bush. However, the leaves themselves are narrrower and not rugose, unlike Extreme Bush.

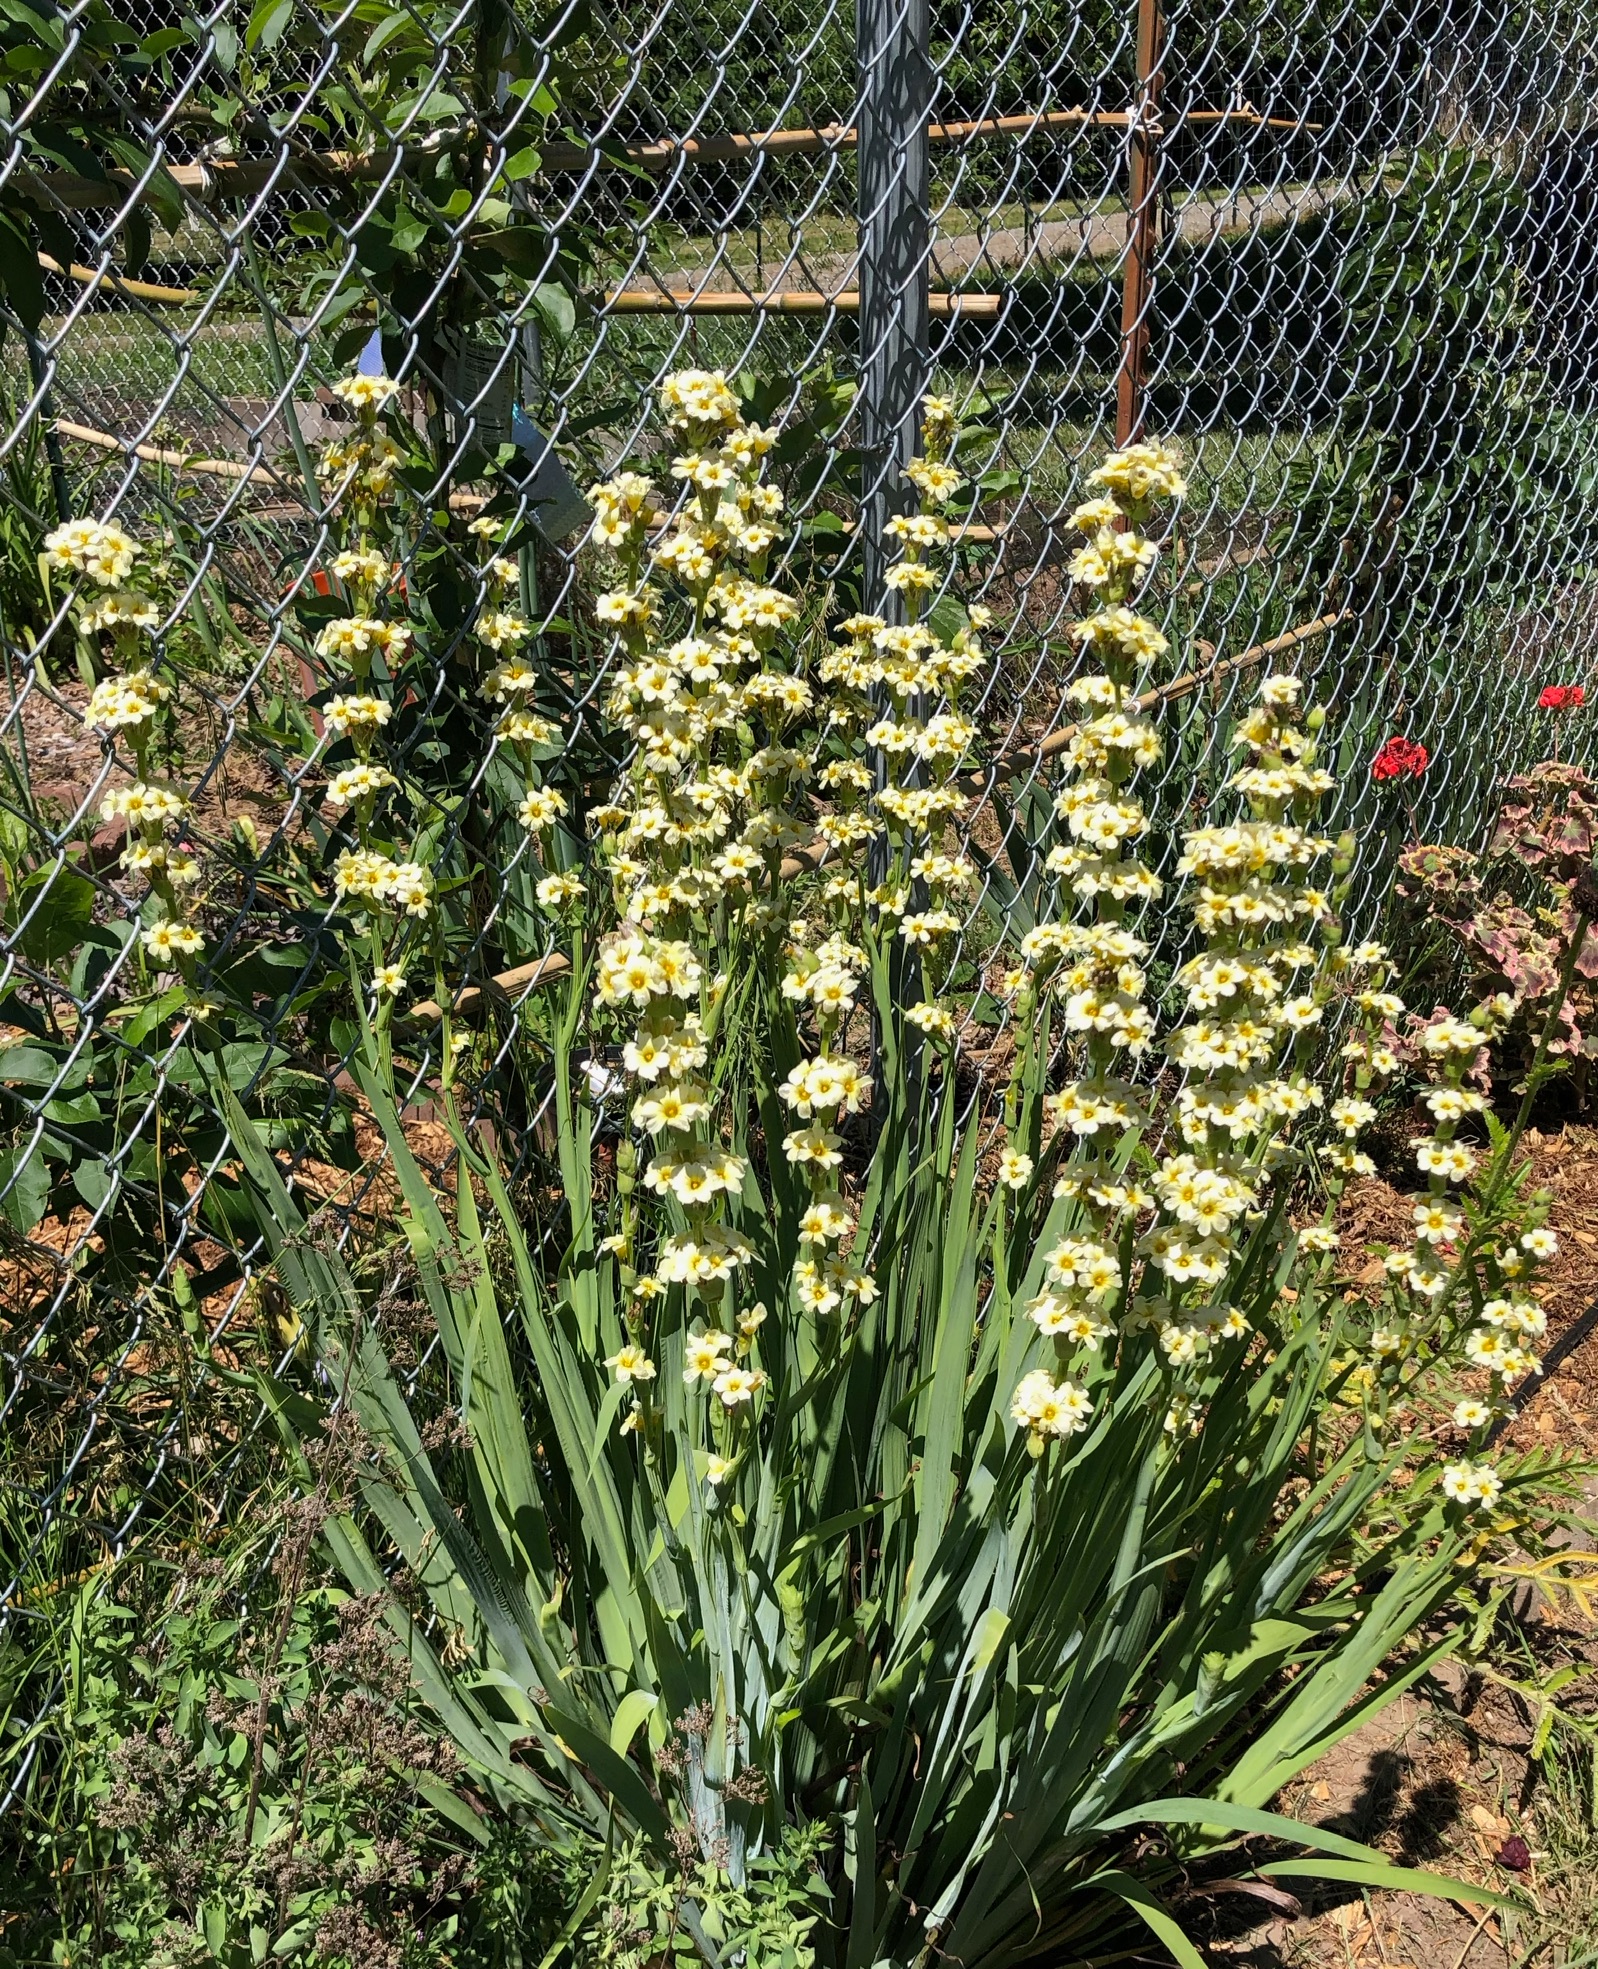
These "satin flowers", Sisyrinchium striatum, were difficult to find. Two years I located sone and p,anted them here. Establishment was slow, then all of a sudden they settled in with a big burst of growth. Now they are blooming. Not the most photogenic flower. I think they are nicer in person.

Chinese chives are not usually in regular grocery stores. They are the main and essential ingredient in Chinese dumplings, so we grow our own. Chinese Chives are a grassy looking perennial, and grass often invades them, which is a mess. So then it's time to grow new ones from seeds. It takes two growing seasons to be ready to harvest. Growing in containers raised beds is good, it keeps them a lot cleaner.
These seedlings are ready to transplant into larger containers, so I did. I grew them from seeds that I saved last summer/fall. I've been meaning to transplant the for a few weeks now.


I planted the last batch of sweetcorn. From what I read, sweetcorn seeds don't keep long, maybe two years. I plant the row with every other seed being last year's seeds, fest is this year's, to use up old seeds. If the old ones grow, they will likely get thinned out. However, there is often a need to plant extras because they dont all grow, or something eats them. Hence the closer spacing at sowing time.
Last year I plants the last batch June 15. I think those were not as productive as those planted June 1, and this year already seems hotter. It's funny- for years I read that sweetcorn didn't grow here. But it does, if you choose early or relatively cool-tolerant varieties. And it's really good.
This batch is "Delectable". The new seeds were from Johnny's in Maine. Last year's were from Territorial Seeds, bit they are too expensive now and their shipping is jaw-dropping expensive.
I'm happy to have the last of the sweetcorn planted. That's pretty much the almost final seed planting, except some odds and ends. That's good because I don't have energy now for any more major soil prep and planting.
 |
Since the tomatoes are blooming, I want to try calcium supplement to prevent blossom end tot. That happens mainly with sauce tomatoes. I really don't know if it helps. Internet sites are all over the place on that, as is research on google scholar. It seems like the bottom line is, they just don't know and have not really done the work - spray some and don't spray others, and see what happens, and report on it. Some sites say, absolutely, use the calcium. Others say it's useless. The joke is on me since I didn't think of that until I sprayed them all.
The instructions say, spray in early am or evening, during periods of rapid growth. Spray to point of run-off. Apply every 5 to 7 days. It's just calcium chloride so I don't think it will hurt anything. For the rest of the sprays, I'll spray all but one of the hybrid Romas and also leave a nonhybrid Roma unsprayed to see if there is a difference.
