Saturday, August 26, 2023

Red Star Quilt, Completed. 26 Aug 23.

 Here is the red star quilt that I finished this summer.  This was made mostly from upcycled men's 1% cotton shirts.  The sides and corner blocks are mainly my own design, and the body of the quilt was based on a pattern from Today's Quilter by Lynne Goldsworthy.  


I'm happy with the result.  A couple of the shirt fabrics were a more delicate weave than I should have used, and not as durable than I wish it was.  Lesson learned.  I have started cutting multicolored batik fabrics for an entirely different take on this theme.  Something to work on next winter.

Resuming Posting. 26 Aug 23.

 I haven't been posting for a while.  It's been a challenging summer, and I can't do everything I once did.

I hope that continuing to post is a sign of resilience and hope for the future.

Gardening is as important as it ever was.  Good for health, mental health, emotional health, nutrition, outlook, community, and the environment.


Saturday, May 06, 2023

Disappearing Hourglass Quilt Block in Batik. 5,6.23


I wanted to make a quilt for Ning's sister, that I could make faster than the usual  cotton men's shirt upcycle quilts.  There are various versions online of disappearing hourglass.  I decided to use batik as the deeply colored parts and off-white with grey markings for the background.  I ordered precut 10-inch sampler bundles, but will also add some other fabrics.

First sew together a light and a dark square, facing together.  Sew a 1/4 inch seam all around.


One thing I discovered, is the precuts are not all perfectly square.  So it takes some finagling.

Then, cut corner to corner, both ways.  (I didn't photograph the first one, so the color is different now.


Then open what are now half square triangles, press, rearrange to make hourglass blocks.

Sew together.  That's the hourglass block.

Then cut into perfect thirds, horizontal and vertical.  That disappears the hourglass.

Now it's a nine-patch.  Rearrange the sides, corners, and middle.


Sewn together like a nine-patch, the block at the top is the result.  There are some challenges.  All of the pieces are on the bias.  The corners didn't come out perfectly on the first two blocks.  I think it still be ok with practice.  Also, the white backgrounds in the sampler aren't all what I want, so I need to replace some.

Drunkards Path Block, Pillow Sham. 5.6.23

 I've been wanting to try a drunkards path block, and wanting pillow shams to match a much earlier quilt made and like a lot.  It turned out pretty easy.  Here is the quilted pillow sham on the older quilt.


Now I want to make a few more.  

The secret to getting those round seams to work, is first use a washable 1/4 inch basting tape to connect them.  Then sew the curved seam.  Nobody tells you that.  It works very well.


Red Star Quilt. Ready to be Quilted. 5.6.23

 Here is the red star quilt so far.


It's all pinned together with the backing and batting.  I've been procrastinating actually quilting it, but I think I'm about ready to.


Also, I think I'll also make a multicolor, richly colored batik version of this quilt.  I like the pattern and how it came together.

Planter Box Made From Cedar Fencing. 6.May.23.

 Here is the second planter box, so far.


About April 15


Not much has changed since then.  Yesterday I used sealer to seal the inside, which will also be protected by a plastic liner.  Then I'll arrange six 25 gallon fiber pots on a platform inside the box and fill with a soil mix.  The main stumbling block is, I don't have the soil mix yet.


Most of the peppers will be in this planter.  Also, it will have drip irrigation.

After a week or two of dry weather, I'll stain it to preserve the wood and to look better.

Here is the one I built last year, using the same method.  Both are 100% repurposed fencing.


Tomatoes are Planted. 5.6.23

I had to take three weeks off due to eye surgery and recovery, retinal detachment. The ophthalmologist has given me the OK to resume activity now. 

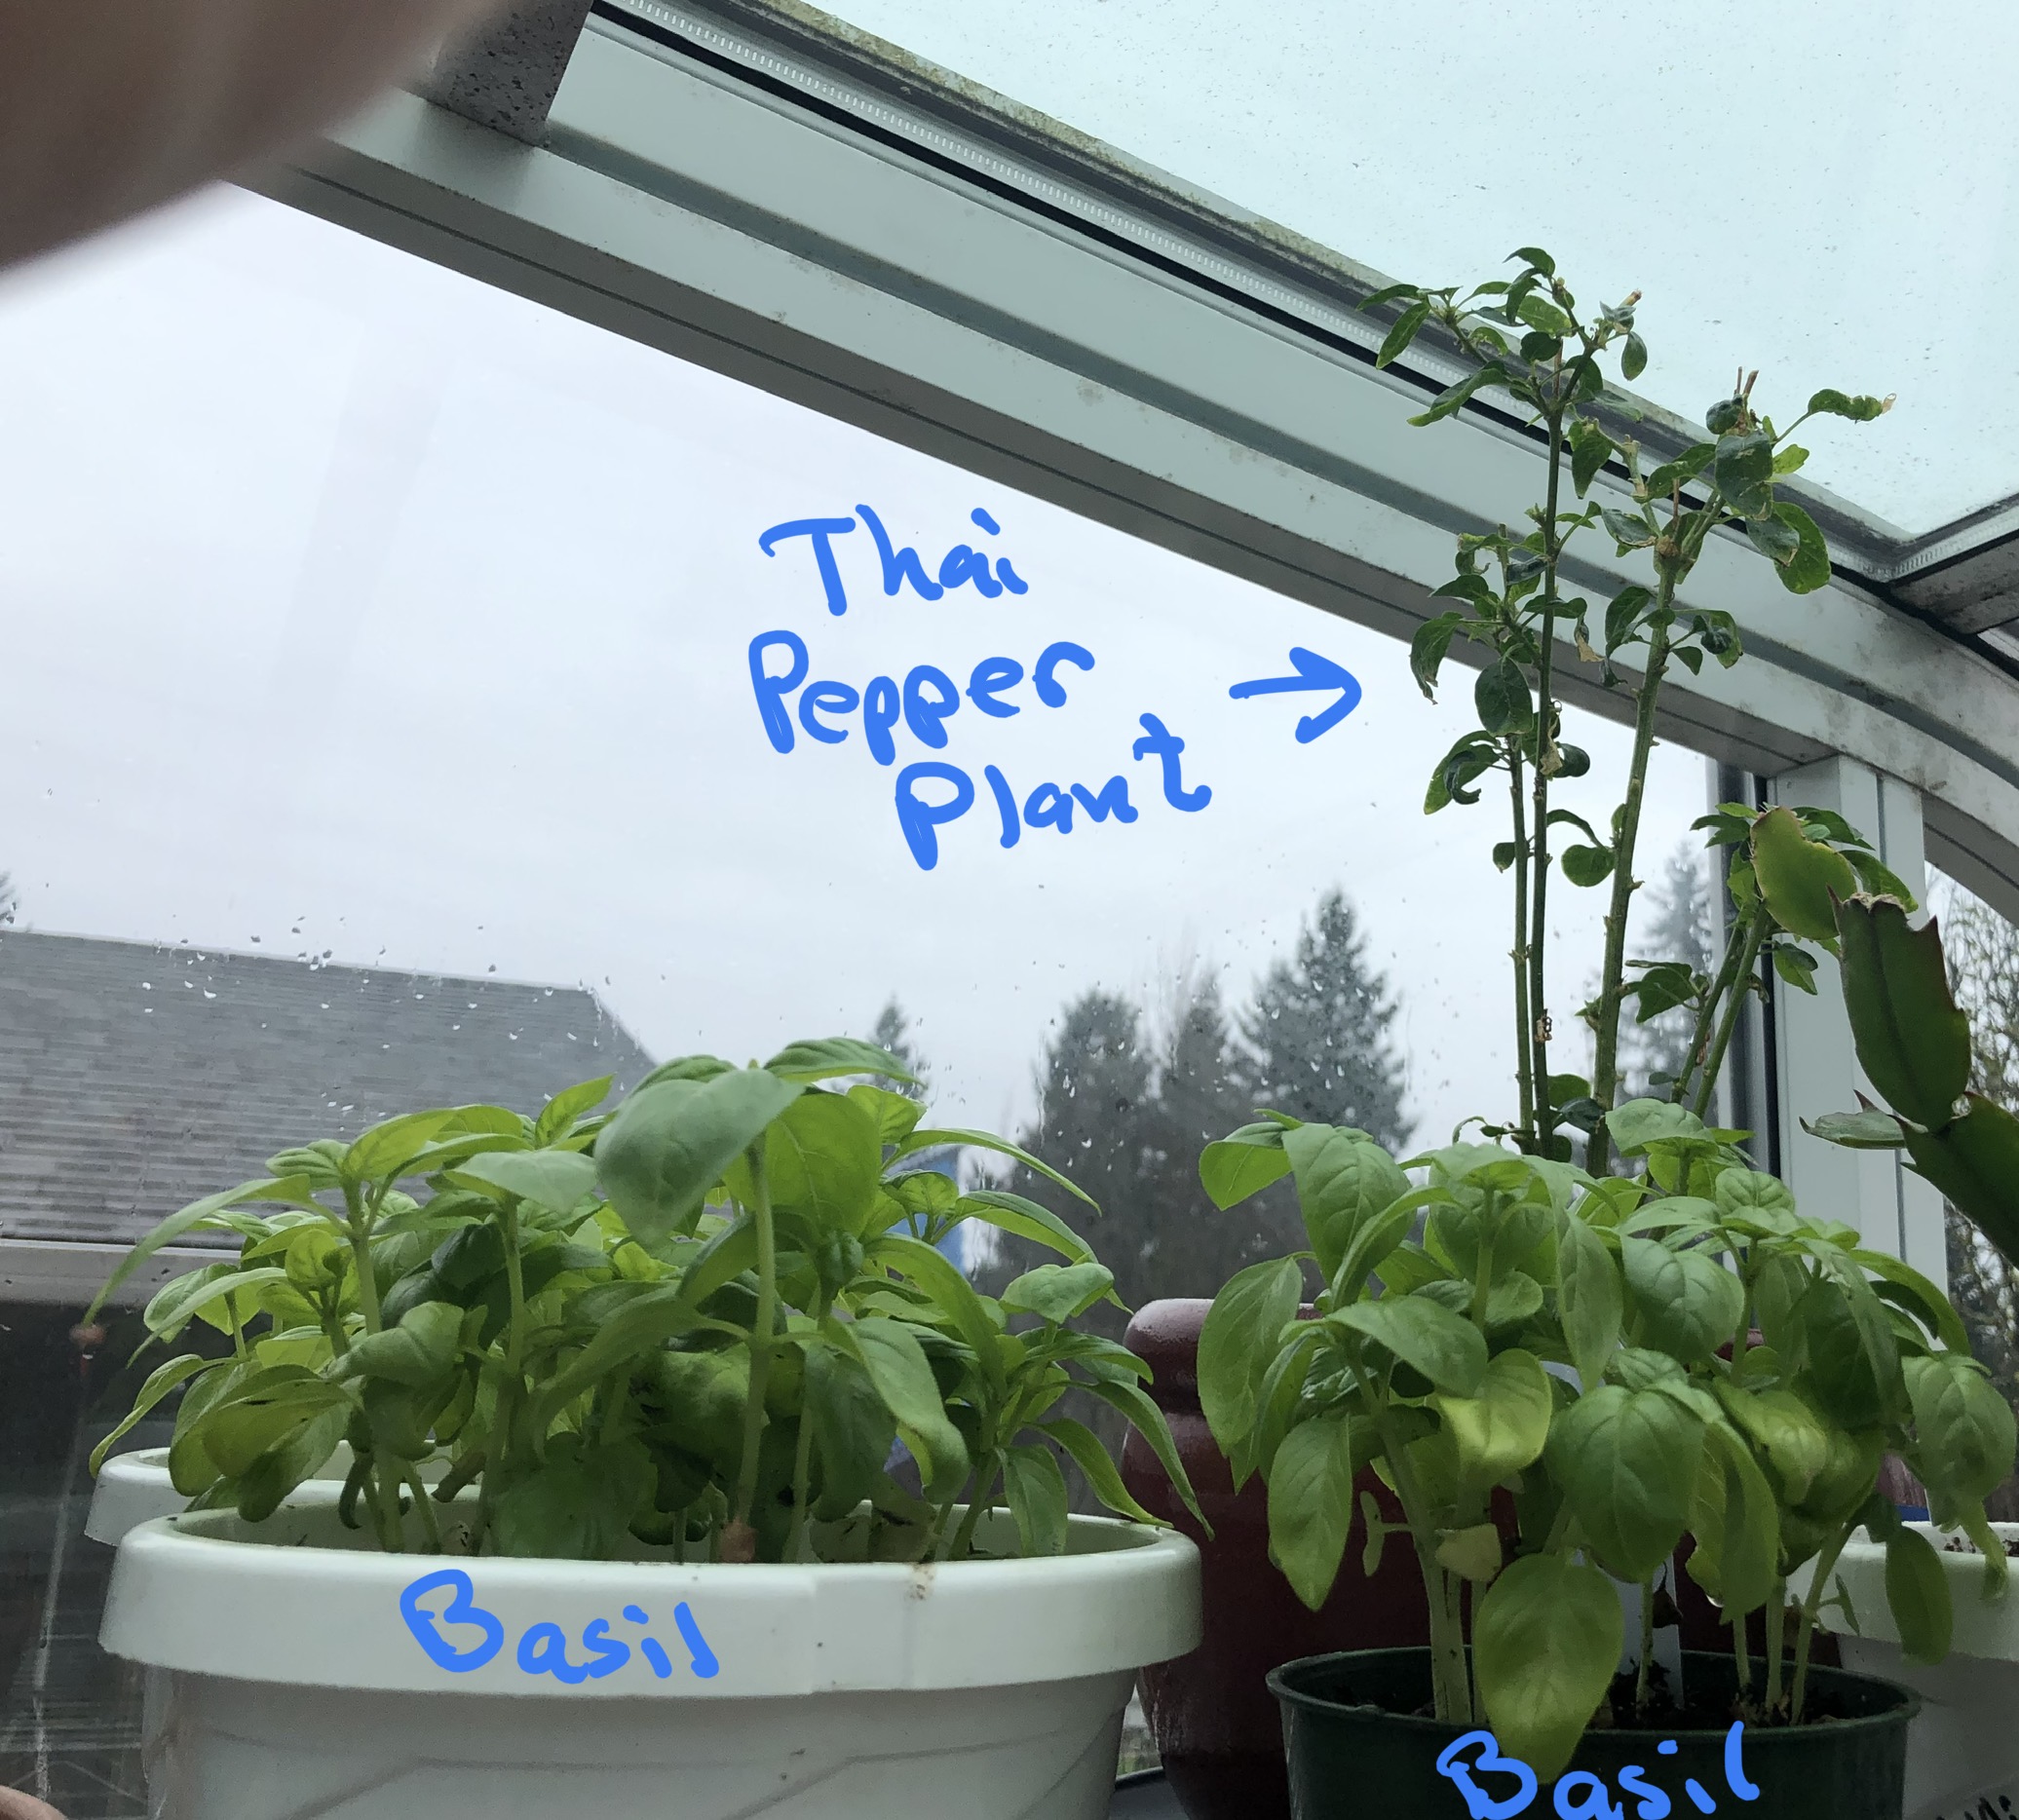
I had started tomato seeds about April 15.  They grow quickly.

I planted the fresh-eating slicing, beefsteak type, and salad type tomatoes in last year's onion bed.  Fortunately I already had it cleaned up.


These have been in the ground for a few days.  Soil temp above 60, night temp mostly above 50 and day temp in 70s.  

Varieties from my saved seeds -

Reisentraube, Dwarf Brandyfred, Extreme Dwarf, Dwarf Champion Improved, New Big Dwarf, Livingston Dwarf Stone, Dwarf Golden Champion, Ukraine Purple (Not dwarf), Dwarf Johnson Cherry, Dwarf Tanunda Red.  The dwarf types and Heirlooms are all open pollinated, so I can (and do) save seeds. They are also all really good, and hard to find seeds for them, and the dwarf habit is really helpful for me.

Open pollinated, new to me - Dwarf Chocolate Champion, Dwarf Muliagul Moon, Dwarf Eagle Smiley, Puck.  

There is also an Early Girl Bush hybrid as a standby variety.  It was my best producer two years ago, but last year didn't do much.  Also, it's multi-disease resistant, which is important.

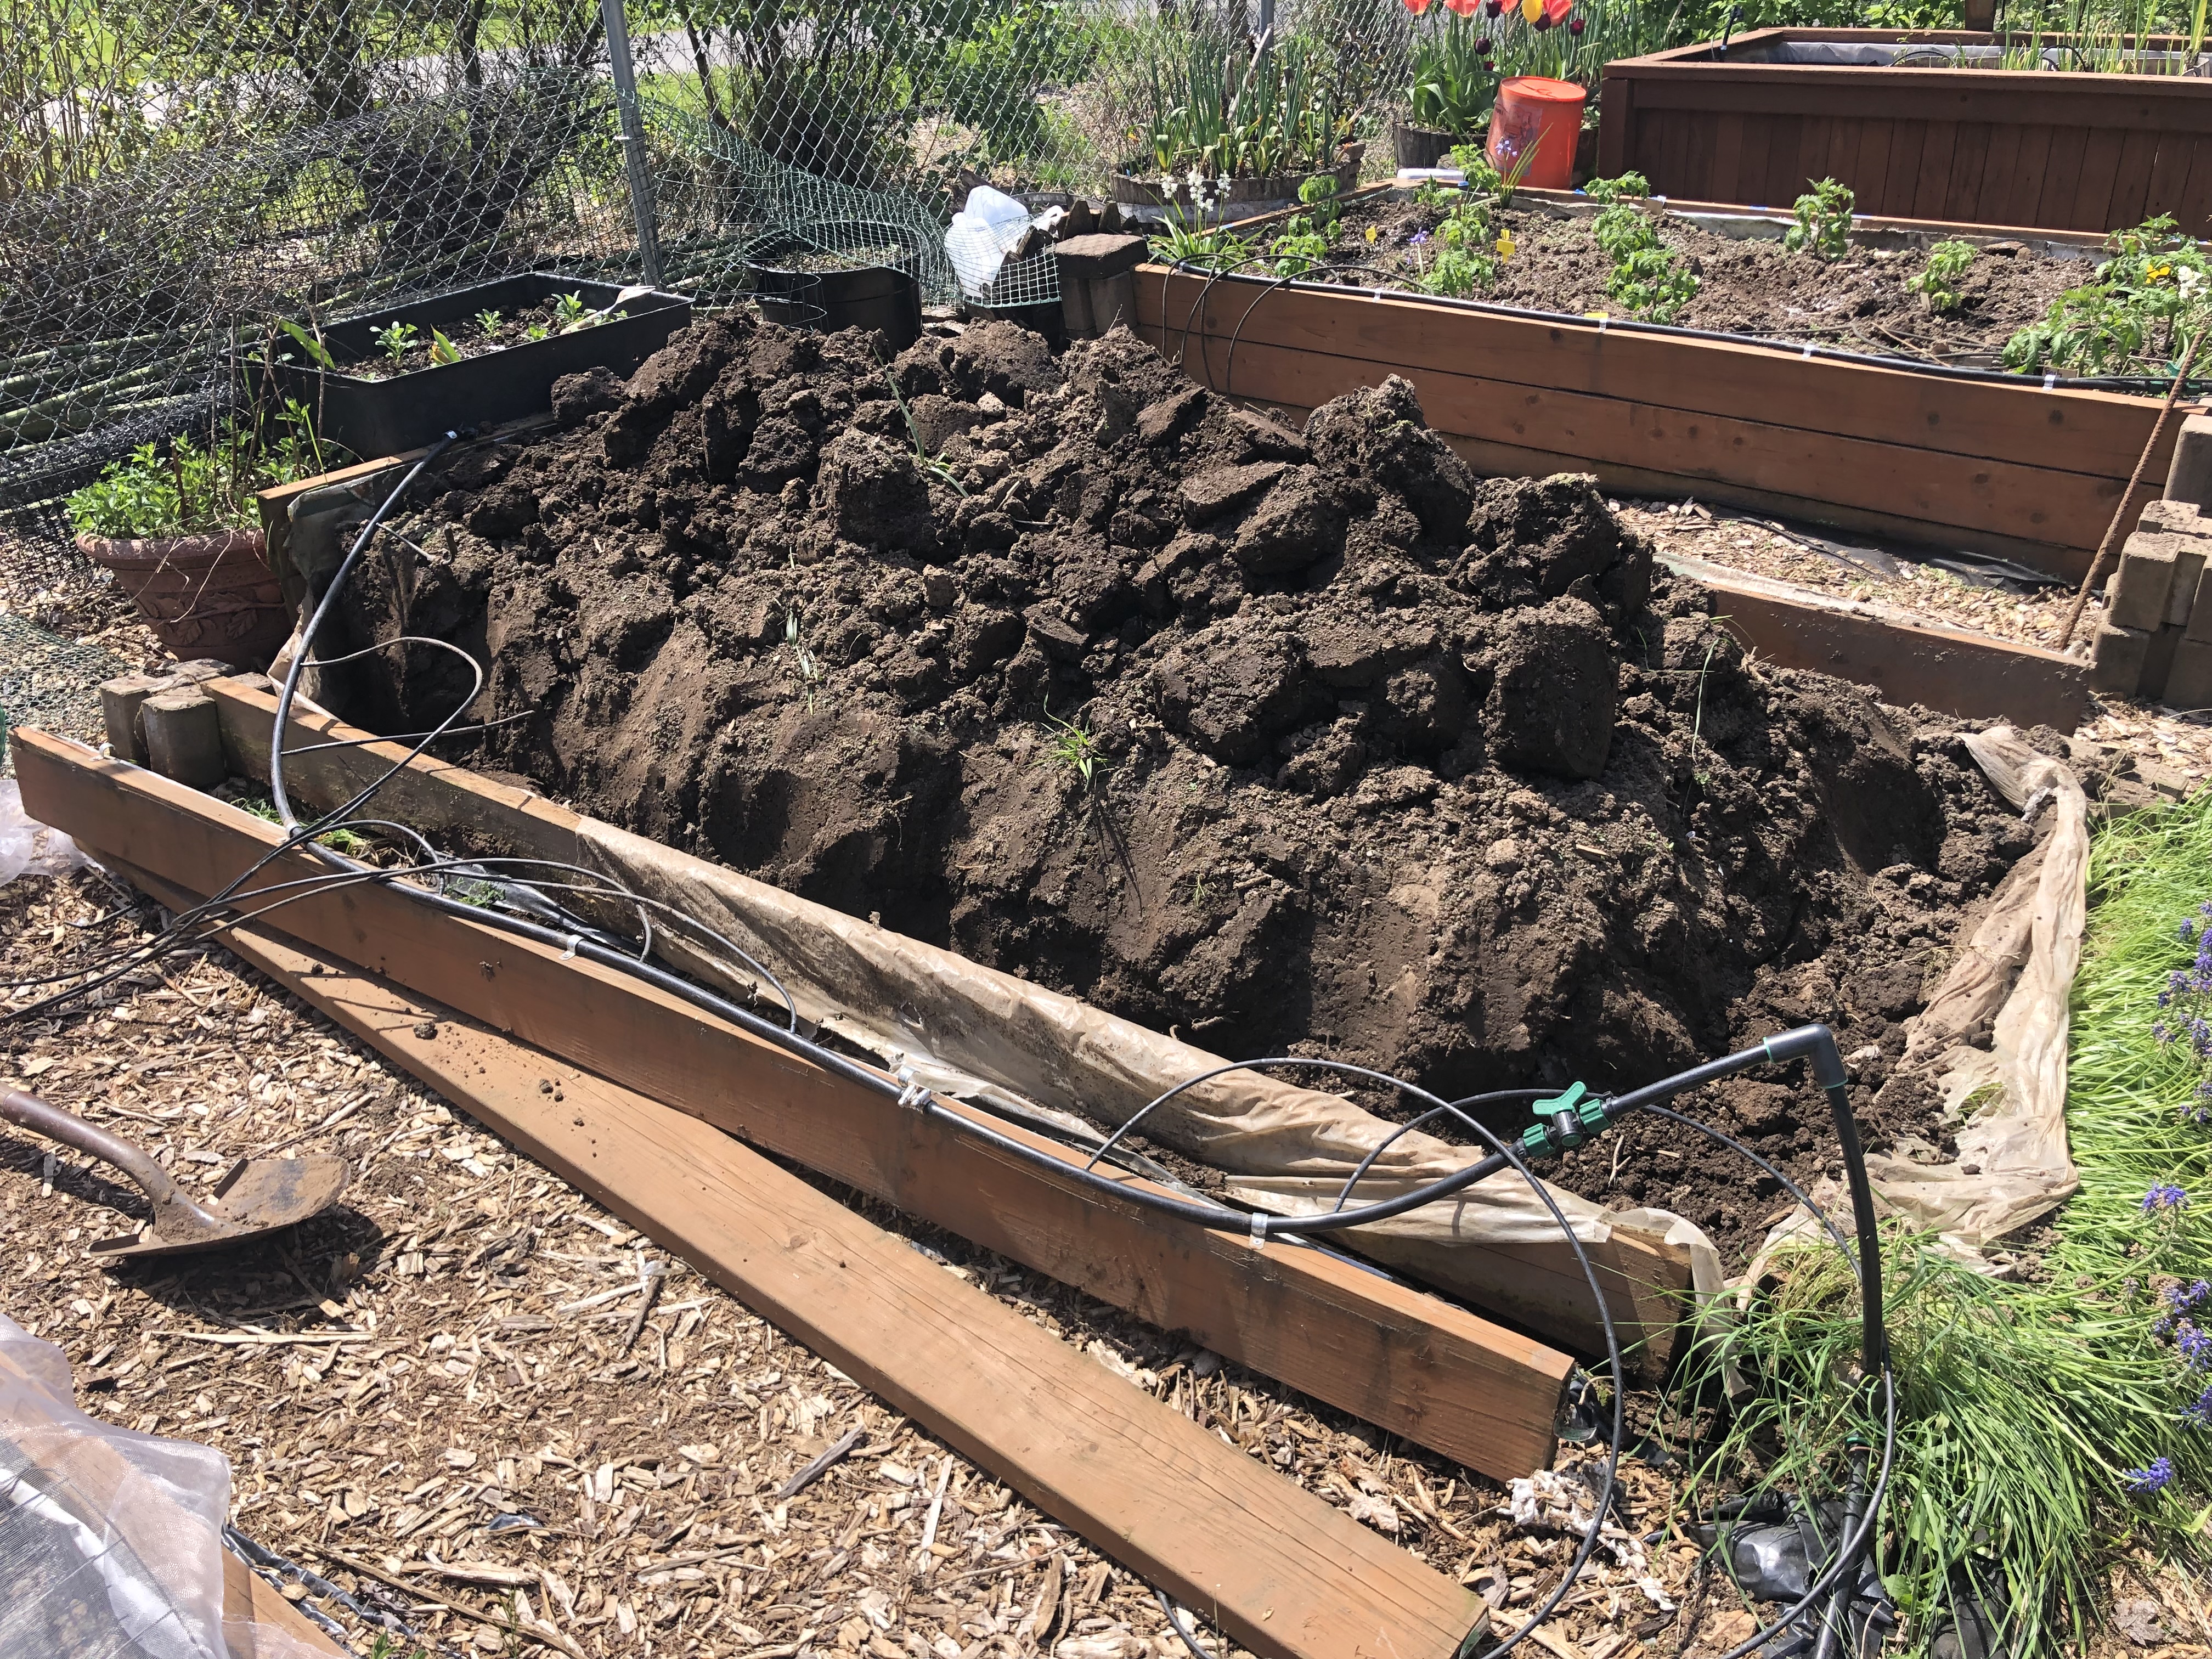
The bed for sauce tomatoes was a bigger challenge.  This was last year's garlic bed.  The corner stone blocks had tipped over and the sides splayed open, not holding the soil. To repair them, I had to dig the soil from the sides and pile on top.


Then, level the soil under the corner blocks, replace them, put in longer rebar center pole but leave some sticking out the top.  Replace the plastic lining to better preserve the wood - chicken feed bags, which are a reinforced plastic.


Now comes the important part.  I cut lengths of recovered, treated 2x4s about a foot longer than the side planks, and drilled 1/2 inch holes to fit over the rebar.  After sliding those in place, the bed looked like this.


Then I leveled the piled up soil.  There is also a big bag of coffee grounds added to the soil before leveling.  Ready to plant tomato plants.


I think those 2x4s will really hold this bed together for a very long time.  The corner stones just cant tilt or move now.  After other chores are done, I'll clean them more thoroughly and stain them along with the sides of the beds.

Then I planted the sauce tomato plants.  Five Supremo and seven Roma VF.  The Roma are my saved seeds, maybe four seasons (generations) of saving the seeds.  Supremo is a modern, multi-disease resistant hybrid.  I expect it to be more productive than the Roma, but I always like to grow two types as well as keep saved varieties going for independence.


There were some extras.  I always plant extra seeds then I don't know what to do with the plants.


I wanted to get the cardboard in place early to prevent weeds and prevent fungal disease.  I'll need to work around that when I install the irrigation.   I'm glad they are planted and mulched and the raised bed refurbished and repaired.  There are some hot days ahead.

Monday, April 10, 2023

Verbascum, Stocks, Dusty Miller, Echinacea, Rudbeckia Seedlings. 4.10.22

 I separated the verbascum, stocks, and dusty miller seedlings into their own cells.


The stratified Echinacea and Rudbeckia seedlings germinated rapidly.  Based on my starts in January, the Echinacea didn't need stratifying.  It didn't hurt, either.

This old LED distorts the image color.  The newer ones don't do that.


Starting Potatoes. 4.10.23

 The potato starts came from Fedco.  I bought early, mid season, and late varieties.  Envol, Red Norland, Kennebeck, and Elba.

I thought the brown discoloration inside one was concerning, so I wrapped it up and threw it into the trash.


The others looked OK.  Before cutting the others, I sterilized the knife by washing in hot water and soap, and then en with denatured alcohol.  I also changed to a new cutting board.


There were some small, sprouting Kennebec potatoes in the garage.  I planted the best looking ones 2 days ago.


Last year I planted too many potatoes.  It was a challenge digging them, especially with the heat and wildfire smoke.  I'm planting about half as many this year.

Eggplant Seedlings. 4.10.22

 Here are most of the eggplant seedlings.  Many of the old plastic pots are degrading, brittle, cracking and broken.  I bought these new ones.  I hope they will last longer.  Thicker plastic.  After use and hand wash, they go through a dishwasher cycle to sterilize.  I haven't tried that yet for these new ones.


I started these seeds in January.  They were slow at first because the sunroom wasn't warm enough.  They should grow faster now.

The varieties were from old seed packets.

Black Beauty (heirloom)

Black Shine (Japanese hybrid)

Nagasaki (Japanese heirloom)

Tomato Seedlings. 4.10.22

 I started the tomato seeds about March 15, I think.  I have been up-potting them into individual cells of the silicone 6-packs over the past 2 weeks.  This is about 2/3 of the plants.  The 


The green packs were up-potted a week ago, the blue packs were up-potted yesterday.  Growth has been much faster since repotting (green packs) compared to the ones I just did (blue).  The delay is OK, it's still very early.

Some went into taller containers, if the stem had stretched taller.  That was mostly the romas that were in the window instead of under LEDs.

As for varieties, Most are dwarf types or determinates.

From my saved seeds:

Dwarf Extreme Bush (heirloom) (red, small)

Livingston Dwarf Stone (heirloom) (red, medium)

Dwarf BrandyFred (open pollinated, dwarf tomato project) (brown/purple, very large fruit)

Dwarf Golden Champion (heirloom) (golden, large fruit)

Dward Tanunda Red. (open pollinated, dwarf tomato project) (red, very large fruit)

Dwarf Champion Improved. (heirloom) (pink, medium fruit)

Roma VF (heirloom) (sauce tomato)

Reisentraube.  (heirloom, not dwarf but seems fairly compact) I thought the Reisentraube looked too vigorous, compared to last year.  In case it was mis-labeled, I re-sowed those seeds last week.

From newly purchased seeds:

Sakura (Cherry hybrid, red)

Puck (open pollinated, very small plant)

Supremo (determinant, red sauce type hybrid)

Dwarf Moliagul Moon (open pollinated, dwarf tomato project) (light yellow)

Dwarf Eagle Smiley. (open pollinated, dwarf tomato project) (red, cherry)

Honeybee (hybrid, semideterminant, from an old seed pack) (yellow cherry)


Sunday, April 09, 2023

Overwintering Peppers. Update. 4.9.23

 Some of the overwintered pepper plants are looking very nice.  Aphids continue to be an issue,  I spray them off at least twicexdaily with water, containing 1/4 tsp miracle gro in 2 quarts of water.  That knocks of the aphids, and seems to boost growth both health and rate.   Thecheating mats are off now.  The sunroom is warmer too.

Jalapeño.   One blossom has opened, and there are lots of buds.  I should probably remove the flower buds.


The Tabasco pepper plants are both growing great!


The Serrano pepper plant is recovering.  The main challenge is keeping aphids in check.


I use a water spray, containing 1/4 tsp miracle gro in 2 quarts of water, to dislodge aphids and provide more nutrition to the plants.  That seems to help growth, and the leaves are darker green.

One Thai pepper plant died.  The other is on the top sunroom shelf, close to the sky window, because it doesn't fit under the LEDs.


The Cayenne is struggling.  The buds seem to grow, then stall.  It's alive, so I continue to take care of it.  It is also on the top shelf.


Sunday, March 26, 2023

Overwintering Pepper Plants. 3.26.23

 Here are the three best looking ones.

Jalapeño


Tabascos.


The biggest challenge now is aphids.  Unfortunately, the sprays are toxic to new growth.  That may have killed this Cayenne pepper plant.   It might still survive, I don't know.


This Serrano is even sadder.

As is this Thai pepper.


The only thing that seems safe for the plants, for removing aphids, is water spray.  I did add foliar-feeding strength fertilizer to the spray, 1/8 tsp per quart.  That doesn't seem to hurt the plants and might givevthem a boost, I don't know.  It also seems OK for seedlings.   I'll continue trying.

Red Star Quilt. 3.26.23

 I bought fabric for backing, but it had a cream color that I did not detect in the internet image.  I don't think that goes with the colors in this quilt.  Also, my bag of fabric scraps is too big, so I used a majot part of it to make this quilt backing.


The squares ate big, to reduce the number of places where the needle has to go through multiple layers when I'm quilting it.  This view is the back side, to show the seams.

Then I layered the backing with batting and the quilt top, and safety pinned it together.


I don't like the basting spray, the solvent is so strong, it smells like an auto body repair shop and it doesn't work that well for me anyway.


I like this quilt pattern enough that I decided to do a second take on it, this time with deeply intense batik fabric and cream colored backgrounds.  Here is the start of that idea.  It will take a few months to make, but easier than using upcycled shirt fabrics.  A lot of the pieces are from precut jelly rolls, and some from extra blocks from a prior batik quilt, or some fabric in my fabric bin.  The diamonds are 2.5 inches on a side, which is also the width of the jelly roll strips.   The squares that become hald square triangles are also 2.5 inches.  So the only parts that can't cone from jelly rolls, are the big background triangles.