As someone with no natural scalp covering (hair) I have a couple of choices. Baseball caps don't help. They have a button riveted in the top to hold together or hide the point where the 6 triangles of fabric come together. Some how, I often hit my head on almost anything, and that rivet makes a divot in my scalp, which leaves a scab for a few weeks. Another choice is to become a NY real estate billionaire and hire a hairdresser for $70,000 a year to pile up the side hair into something that looks like a tortured ferret on top of my head. That's not my favorite option either. So I decided to make a cap with a one-piece top, quilted for protection.
I had this old cap that I used to like, but it's falling apart and the top was never padded so not much protection. I took it apart and ironed the pieces flat to make a pattern. I used to joke that this was a Fidel Castro cap, but then I did a web search on "Fidel Castro cap" and it turns out that it really was Fidel Castro cap. I'm not crazy about that but I can use a fabric other than olive drab and that will fix that.
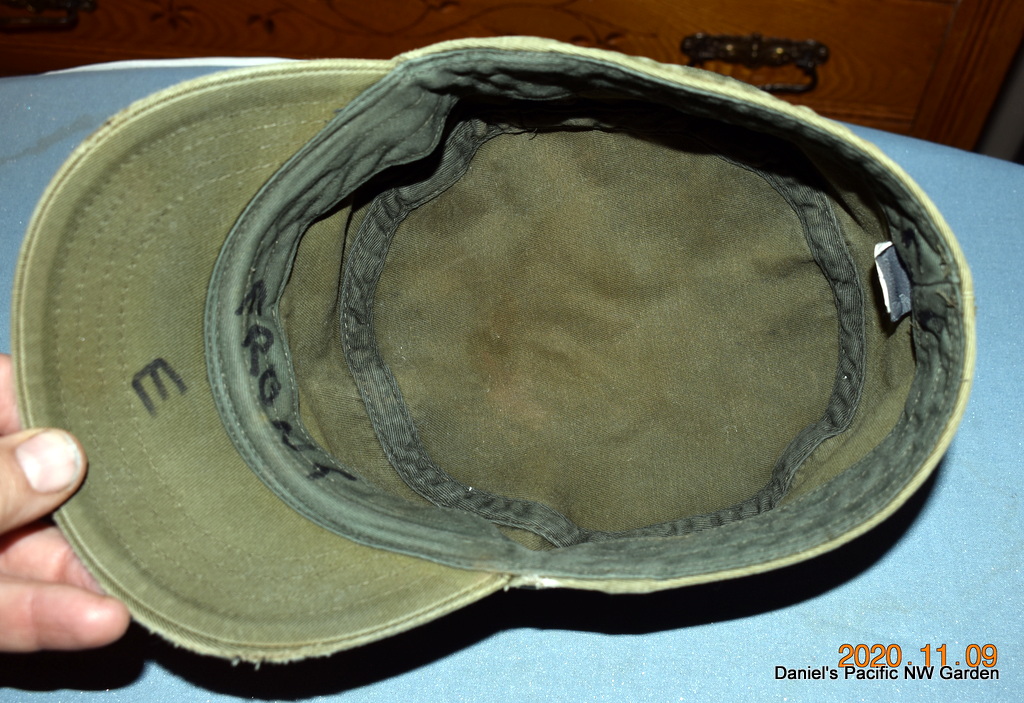
First, I ran the cap through the washer/dryer so I would have something clean to work with. Then I labeled all of the seams for future reference.
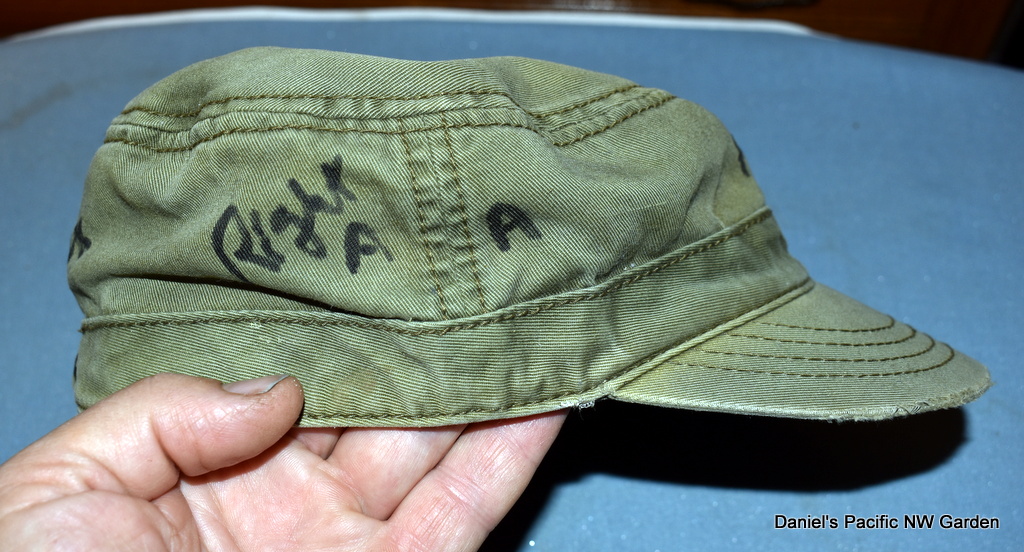


Then I used a seam ripper to tear apart the old cap. The bill is too solid to take apart but I can work with that as is. Also, I took photos from every angle, to serve as a guide to assembling the new cap.

The bill is rather hard plastic. A could make a new one using milk jug plastic, but I don't want to damage my sewing machine by sewing into something similar. Plus I don't know what would happen to that if it goes through the dryer. As an alternative, I could use several thicknesses of denim or canvas. I opted for some heavy duty interfacing from the fabric store, which gives some stiffness but is still soft at the same time. For the top part, I used rip-stop fabric for the top, flannel from old pajamas for the inside, and sandwiched some quilting cotton between the two. I machine quilted that with about 1 1/2 inch squares. I skipped the border around the sides.
This is the result for the first prototype. It's interesting that I can take something apart, use that as a pattern, and it comes out looking completely different. It's a little crude, but it takes me a few efforts to make something decent, which is why this is just a prototype.

This hat is actually fairly functional and more comfortable than the usual baseball cap. However, I think I might take it apart and put in a flannel liner and flannel binding on the sides, which will make for even better comfort and better fit.
I had a lot of problems with the stitches skipping, whole sections of skips. The sewing machine manual says really helpful things (not really) like "wrong needle" or "wrong thread" or "not threaded correctly." I re-threaded the machine. I tried a heavier needle, which maybe helped a little. I tried the heaviest duty needle that I had. Still some skips. Then I changed to a walking foot, and surprise, no skipping,
No comments:
Post a Comment
Note: Only a member of this blog may post a comment.