Fig growth buds are swelling (green tips) and so are the buds that, if conditions are favorable, will become figs. Yummy! Plus, maybe this year if there are enough of them, I'll try canning a batch.
Thursday, March 31, 2022
Forsythia Blossoms. 3.31.22
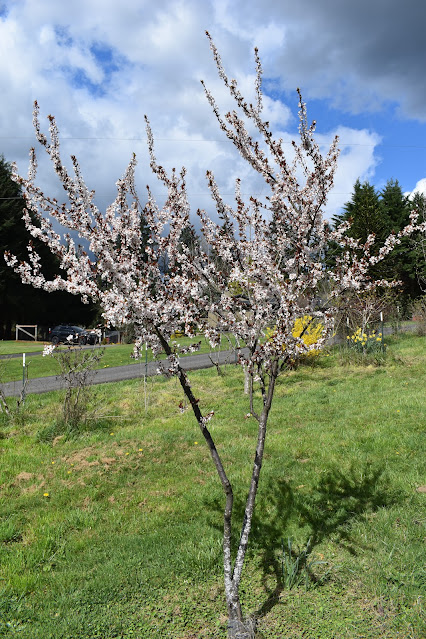
Here is the forsythia bush that I grew from a cutting about fifteen years ago, then transplanted about nine years ago. It's been pruned back pretty heavily a few times.
Last year, I took about ten cuttings from this bush to start a privacy hedge. It's nice, they bloom even when only one year old.
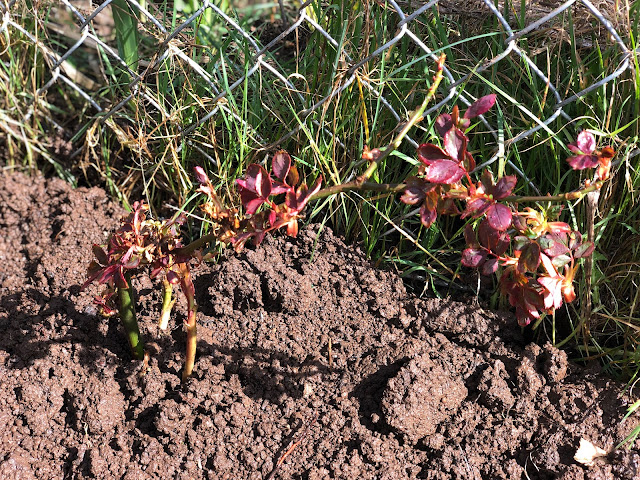
These one is from that batch of cuttings.
I have two jars of new cuttings in water for another batch, about ten more potential plants. No roots yet but it's quite early for that.
The challenge is, should I water and fertilize the young shrubs this year? Then they will grow faster, but it's (a) more work and (b) growth on the watered, fertilized plants is more lush and tender, so deer eat them. So then they need protective fencing, too. Still, I might do that anyway. Without fertilizing, they grew about one foot to eighteen inches the first year. I'd like to get them at least five feet tall un two or three years. Growth also seems to be faster on well-established shrubs.
Asian Pear Blossoms. 3.31.22
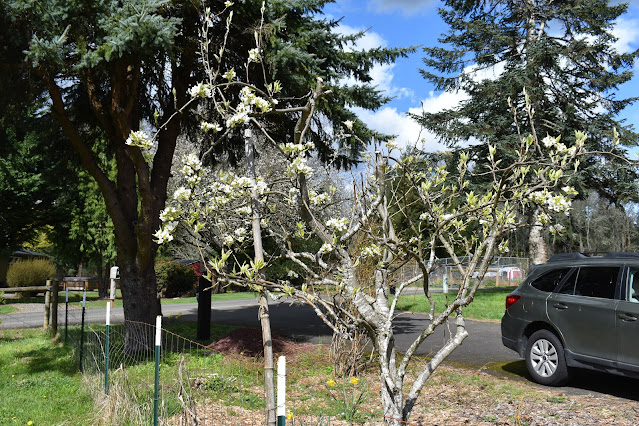
Asian pears are blooming. I did a major pruning last fall so I can reach the fruits to thin them and apply protective bags for coddling moth etc this year, but deer cant reach them. I see lots of jars of canned fruit ahead this summer :-) but not too many to manage.
Monday, March 28, 2022
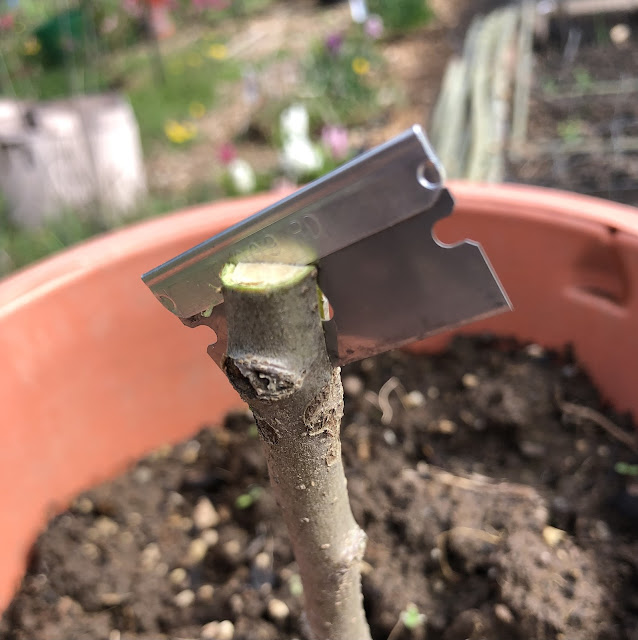
Grafting Some Heritage Apple Varieties. 3.28.22
Friday, March 25, 2022
Finished Planter Box. 3.25.22
I found some deck stain in the garage. I've been waiting for a nice day to stain the planter box that I built from weathered cedar. The stain will help it last a few more years than if I left it unstained.
Completed project.
Here's what it looked like before I leaned up the wood and stained it.
Here is the source fencing that I took apart and cut to build the box. I used about seven fencing sections like this one.
More Seed Starting. Tomatoes and Others. 2.25.22
These are other seeds I started yesterday. I waited on sauce tomatoes because I don't see much reason to start them as early, while everyone should want the earliest slicing tomatoes :-).
There were some old "Ranger" sauce tomato seeds. It's an excellent variety that I grew 3 or 4 years ago, productive, tasty, big, disease free. However the seed and shipping were too expensive so I changed to Roma III which are also excellent but bot quite as big. I'm growing out the last of the Ranger seeds so they are not wasted. I also discovered I have a pack of "Supremo" so I will test that with one plant. The bulk of the sauce tomatoes will be Roma III, very productive, good, meaty, good size, disease free sauce tomatoes. I'll grow a few Roma VF that I saved seeds for last year, to see how they do in identical conditions as the others. Last year's Roma VF were off the irrigation grid and shaded by taller tomatoes, so didn't get a good test.
There are also various other plant varieties in this round of seed starting. I'm curious about how the Salpiglossis turn out. Those seeds are like dust. There are conflicting reports on whether they require light.
The condiment bottle is a great way to water seeds. I think it works better than a sprayer.
Planting Stratified Wild Rose and Pyrocanthus Seeds. 3.25.22
These are rose seeds I collected by the roadside in December. I cleaned the rose hips, washed the seeds, placed in wet newspaper and placed that into a zipper plastic bag, then refrigerated until now. Today, I planted them 1/4 inch deep in seed starting medium, and put them on a warming mat.
The seeds have white tips. I wondered if that is the start of a root emerging, but I think the seed coats just have a white tip.
I did the same with Pyrocanthus seeds that I collected this winter and treated the same way, except on wet paper towel.
I planted the Pyrocanthus seeds 1/4 inch deep in seed starting medium, and placed them on the seed warming mat, too.
I read that newspaper is better for stratifying seeds because it's less likely to become moldy, compared to paper towel. Here they seem about the same.
The Mystery of Bad Potting Soil. 3.25.22
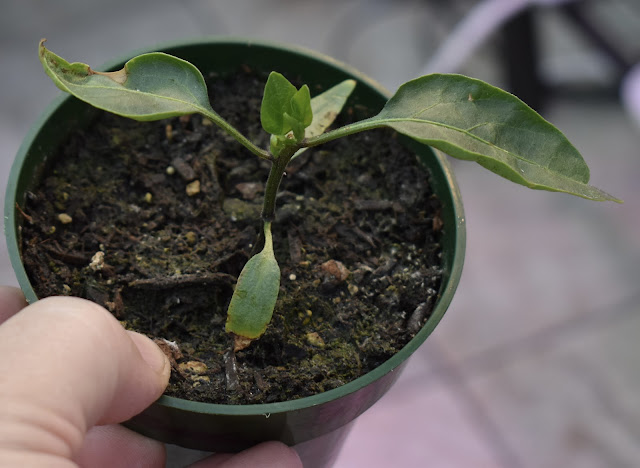
These are the peppers that I up-potted in that Miracle-Gro potting soil. They are the third or fourth group of seedling that I planted in that soil.
Everything that I subsequently planted different brand (I forget the brand) of potting soil is looking quite good. It's definitely the pitting soil. I won't claim that the brand is bad, but this batch is definitely toxic for some reason.
I might try re-potting the survivors in a different soil and see if they recover.
Meanwhile, the Jalapeños and Serranos that I had mistreated with Neem oil previously, seem to be sending out new growth.
Planting Sweetpea Seedlings. 3.25.22
These are the sweetpea seedlings I planted yesterday. They were sort of unintended. I hadn't seen the ones that I planted directly emerge, so I started these just in case. Since then, the others did emerge. I planted these against some deer fencing in a location where they should get Western sunshine, although there will be some shade. I can compare how they do, with others that will not be shaded.
I had read that they don't like being started in containers because the tap root might break in transplanting. So I planted these before there was much tap root at all.
Seedling Notes. 3.25.22
This morning I puttered with seedlings.
This tomato was too tall for it's cell pack, somI up-potted it into a tall 4" pot. This one is "Ukranian Purple". I think that's the same as "Russian Purple", interchange names, but from the history I read "Ukrainian Purple" seems more accurate.
The other tomato seedlings are looking good. I may have started them a little too early but, no problem.
It's interesting that Reisentraube is smaller than the others. I thought it would be a vigorous grower, like Sungold. As it is, it's more compact than the dwarf types. In the front of the bottom pack is a pack of thyme seedlings. They are growing faster than the ones I set outside a couple of weeks ago, which proves I jumped the gun on that one.
Thursday, March 24, 2022
Cleaning Up / Rejuvenating Chive Clumps. New Weeding Tool. 3.24.22
I finished cleaning up the chives and garlic chives. Growing them in containers helps a lot, but once grasses get in there, it's a job for sure.
Here is the tool I bought. I want to call it "Klingon Toothpick" but Star Trek might not like that. I'll just call it "That weeding tool".
Transplanting A Cutting-Grown Climbing Rose. 3.24.22
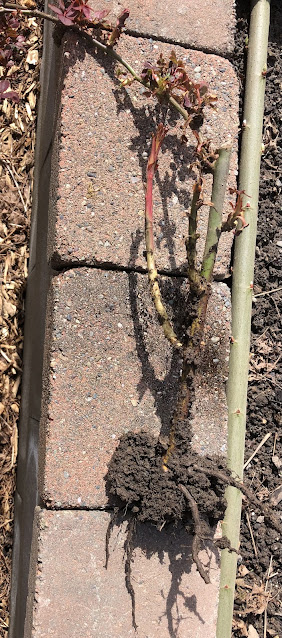
I started this rose from a cutting last year. It was very easy. I just pushed the dormant stick into the soil in a vegetable raised bed, as a row marker.
I think I pushed them in too deep. The roots emerged from the bottom, and grew downward from there. I dug one out last fall and didn't get enough roots, and it died.
This time I tried to dig as deeply as possible, without disturbing the neighboring garlic plant.
Wednesday, March 23, 2022
Garden Puttering. 3.23.22
Today I didn't do much. It was raining and I'm feeling the full effects of a COVID vaccine booster. However, I did do the following:
(1) Re-cover the sides of the recovered cedar planter box, with clear plastic. I want them to not-be rained on for few weeks so they will be dry, when I stain and water proof the wood. Especially the inside - that way I can start setting up the filling for plants. I can stain the outside later if needed.
(2) Planted some Crocosmia "Lucifer" corms in the deer park / hell strip border. I bought five via mail order. This fall I should dig up some of the big clumps growing elsewhere, and divide them. It would mean a lot more plants, for free, and it would be way too expensive otherwise to buy that many new ones.
(3) Moved a Sisyrichium striatum clump from the edge of the fenced garden, to the deer park border. I like them but they are messy looking. Better to grow out of the main view. I prepped the old location for planting some colorful, modern bare root Echinacea plants that came yesterday.
(4) Planted a short row of carrots and another of radishes.
(5) Scattered slug bait around the emerging sweetpea seedlings, and also around most of the snowpea and snappea plants. Slugs like those. Also around the Rudbeckia, Echinacea, and Coreopsis seedlings and rhubarb divisions.
(6) Mostly I walked around, looking at swelling tree buds, plants emerging from the ground, and taking in fragrance from hyacinths.
Sage and Forsythia Cuttings. 3.23.22
I saw a page on the internet that showed starting sage plants, in water, from cuttings. So I took some sage cuttings. Also I took another batch of forsythia cuttings to start in water too, like I did last year.
Cuttings -
Monday, March 21, 2022
Starting Rosemary From Cuttings. 3.21.22
A few weeks ago, I collected some rosemary sprigs and made them into cuttings. I scored the lower couple of inches of stem, dipped into dip-and-gro, and packaged in moist seed starting medium. I tied the bags so there was a tie around the mis point of the stem, with the tops still in open end of bag.
The past few days, I noticed roots.


